In today’s high-precision manufacturing landscape, pad printing stands as the only industrial-grade printing technology that can deliver crisp, consistent, and durable graphics on irregular, curved, recessed, and ultra-miniature surfaces. From automotive control buttons and medical syringes to cosmetic lipstick tubes, electronic remote controls, and promotional gifts, pad printing is the irreplaceable solution for brand marking, regulatory compliance labeling, and decorative printing across nearly every global industry.
Yet many manufacturers, print shops, and business owners rely on pad printing equipment daily without fully understanding its core working principle. This knowledge gap often leads to poor equipment selection, recurring print defects, unnecessary production downtime, and higher operational costs. In this comprehensive guide, we break down the fundamental science, core components, step-by-step working cycle, and key variables of pad printing machines, giving you full mastery of this versatile printing technology to optimize your production and maximize your return on investment.
What Is Pad Printing? A Core Definition
At its simplest, pad printing is an indirect gravure (recessed) printing technology that uses a flexible, elastic silicone pad as the transfer medium to move a printed image from an etched printing plate (cliché) onto virtually any substrate or surface geometry.
Unlike direct printing methods such as screen printing (which forces ink through a mesh stencil directly onto a flat surface) or offset lithography (optimized for high-volume flat paper printing), pad printing’s unique indirect transfer mechanism allows it to conform to complex, non-flat surfaces that no other printing technology can handle efficiently. This is the core reason it has remained the industry standard for precision marking on 3D and irregular parts for over 50 years.
Core Components of a Pad Printing Machine: The Building Blocks of Its Working Principle
Every part of a pad printing machine is engineered to support its core image transfer cycle. To fully understand how the machine works, you first need to know the function of each critical component and how they work in tandem:
1. Printing Cliché (Image Plate)
The cliché is the master template that carries your desired print image. It is a flat, precision plate (typically made of high-grade steel or wear-resistant ceramic) with your logo, text, graphics, or markings etched into its surface as micro-recessed cavities (usually 15–25μm deep for standard applications).
These cavities hold the printing ink, while the flat, non-etched surface of the cliché is wiped clean of excess ink during the printing cycle. The precision of the etch directly impacts the sharpness and consistency of your final print.
2. Ink Delivery System
This system stores and applies ink to the cliché, with two primary designs used in modern pad printing machines:
- Closed Ink Cup System (Industry Standard in 2026): The most widely used design, featuring a sealed cylindrical cup with a precision ceramic doctor ring around its bottom edge. The cup holds the ink directly over the cliché, moving across the plate to fill the etched image cavities with ink, while the rigid doctor ring scrapes all excess ink off the flat cliché surface in a single pass. This design minimizes solvent evaporation, maintains consistent ink viscosity, reduces ink waste by up to 90%, and meets strict global environmental regulations.
- Open Ink Trough System: A traditional design with an open ink reservoir and a separate rubber squeegee blade that spreads ink across the cliché and wipes away excess. While simpler for low-volume, occasional use, it is less common in industrial settings due to rapid solvent evaporation, inconsistent ink performance, and higher environmental impact.
3. Silicone Printing Pad
The silicone pad is the heart of the pad printing machine, and the single most critical component for successful image transfer. It is a custom-molded elastic pad made of medical or industrial-grade silicone rubber, available in varying hardness (shore scale), shapes, and sizes to match specific application needs.
Its core functions are twofold: first, to pick up the wet ink image from the etched cliché, and second, to transfer that image perfectly onto the target substrate—even if the surface is curved, angled, recessed, or irregular. The silicone’s unique elastic deformation properties allow it to conform to complex surface geometries, while its controlled surface energy ensures it can both pick up and fully release the ink without residue.
4. Drive & Precision Control System
This system powers and coordinates every movement of the machine, ensuring consistent, repeatable performance across every print cycle. Most industrial pad printing machines use either pneumatic drive systems (for reliable, low-maintenance operation) or high-precision electric servo drive systems (for ultra-fine speed and pressure control in high-accuracy multi-color applications).
All movements are managed by a programmable logic controller (PLC) and user-friendly HMI touchscreen, where operators set and adjust critical parameters: print stroke length, pad descent speed, contact pressure, dwell time, and cycle speed. This ensures every print cycle is identical, whether you are running 10 pieces or 1 million pieces.
5. Workpiece Jigs & Fixtures
Custom-machined jigs and fixtures hold the target workpiece securely in a fixed position during the print cycle. They are precision-engineered to match the exact shape of your part, preventing any shifting or movement that would cause misregistration, blurry prints, or inconsistent transfer. For multi-color printing, the fixture’s precision is critical to achieving tight, accurate color registration (down to ±0.01mm for industrial-grade machines).
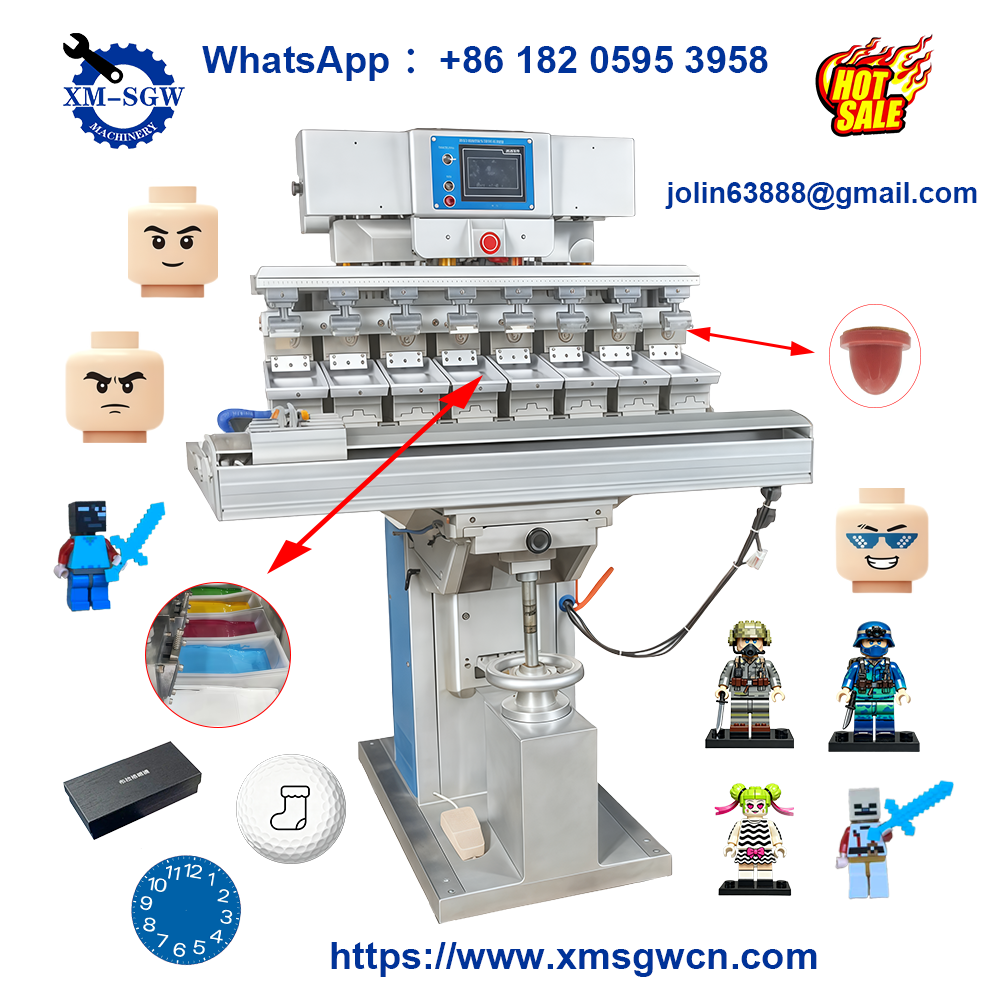
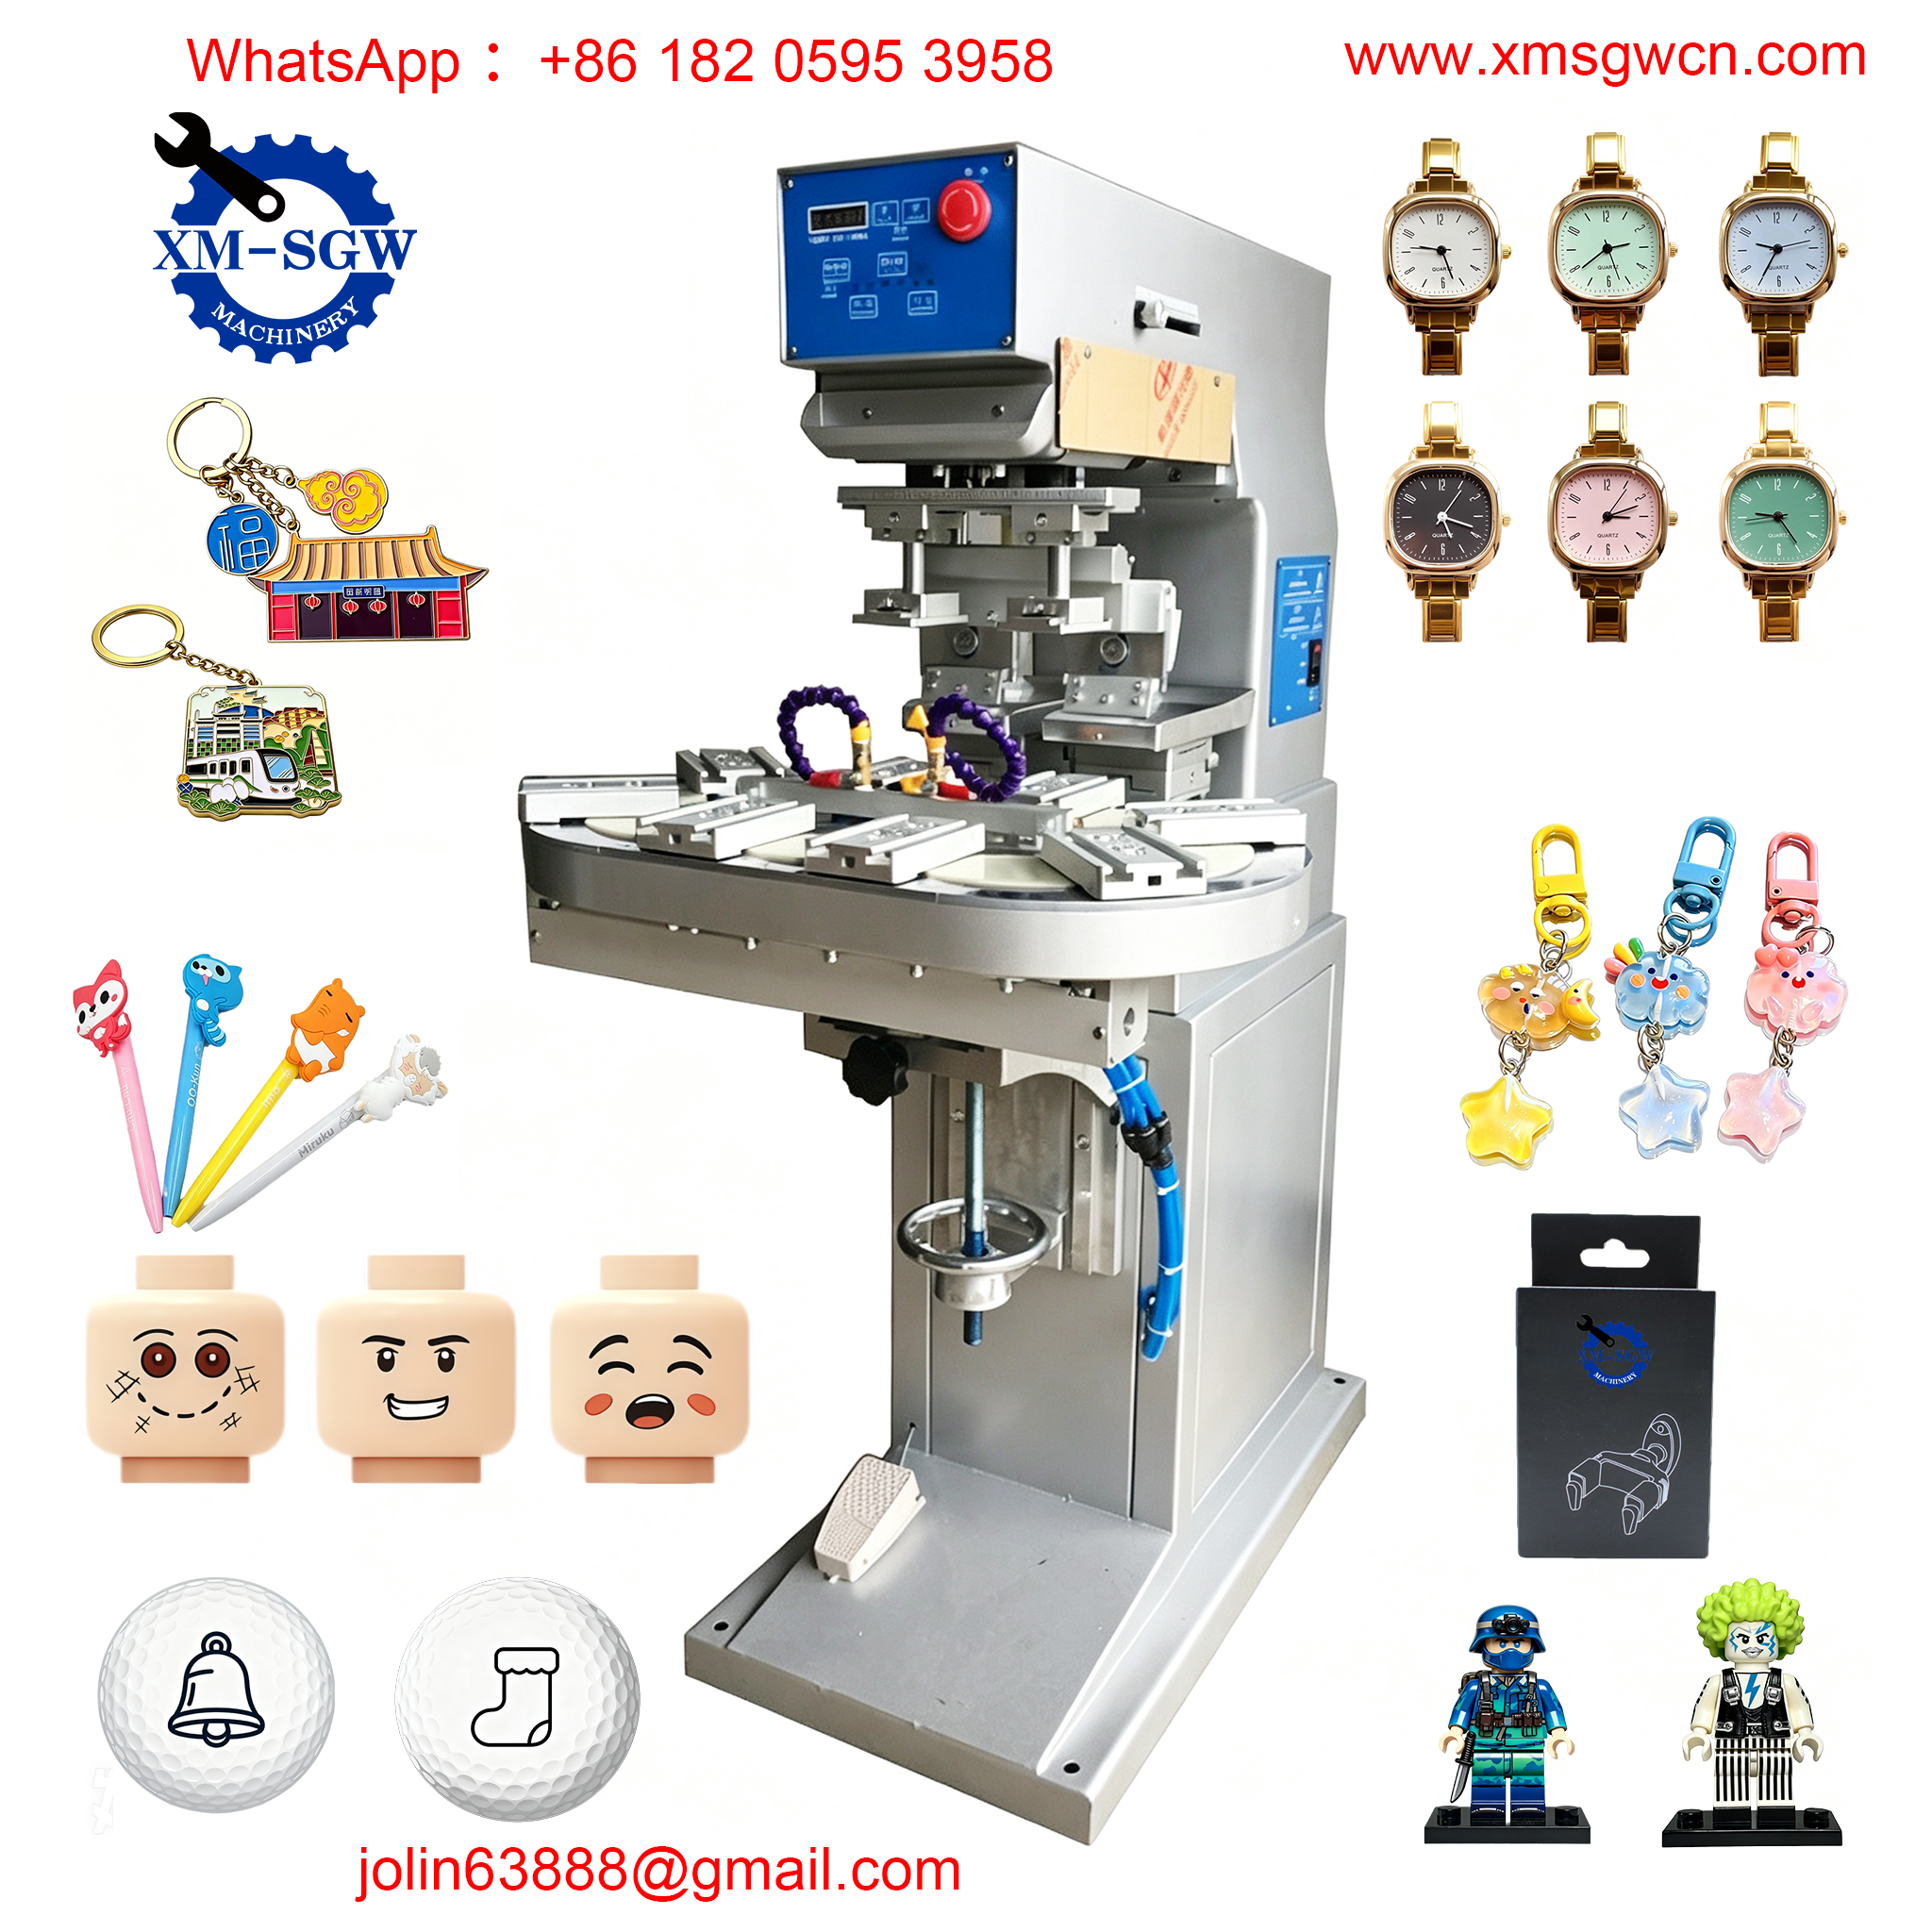
6. Multi-Color Registration System
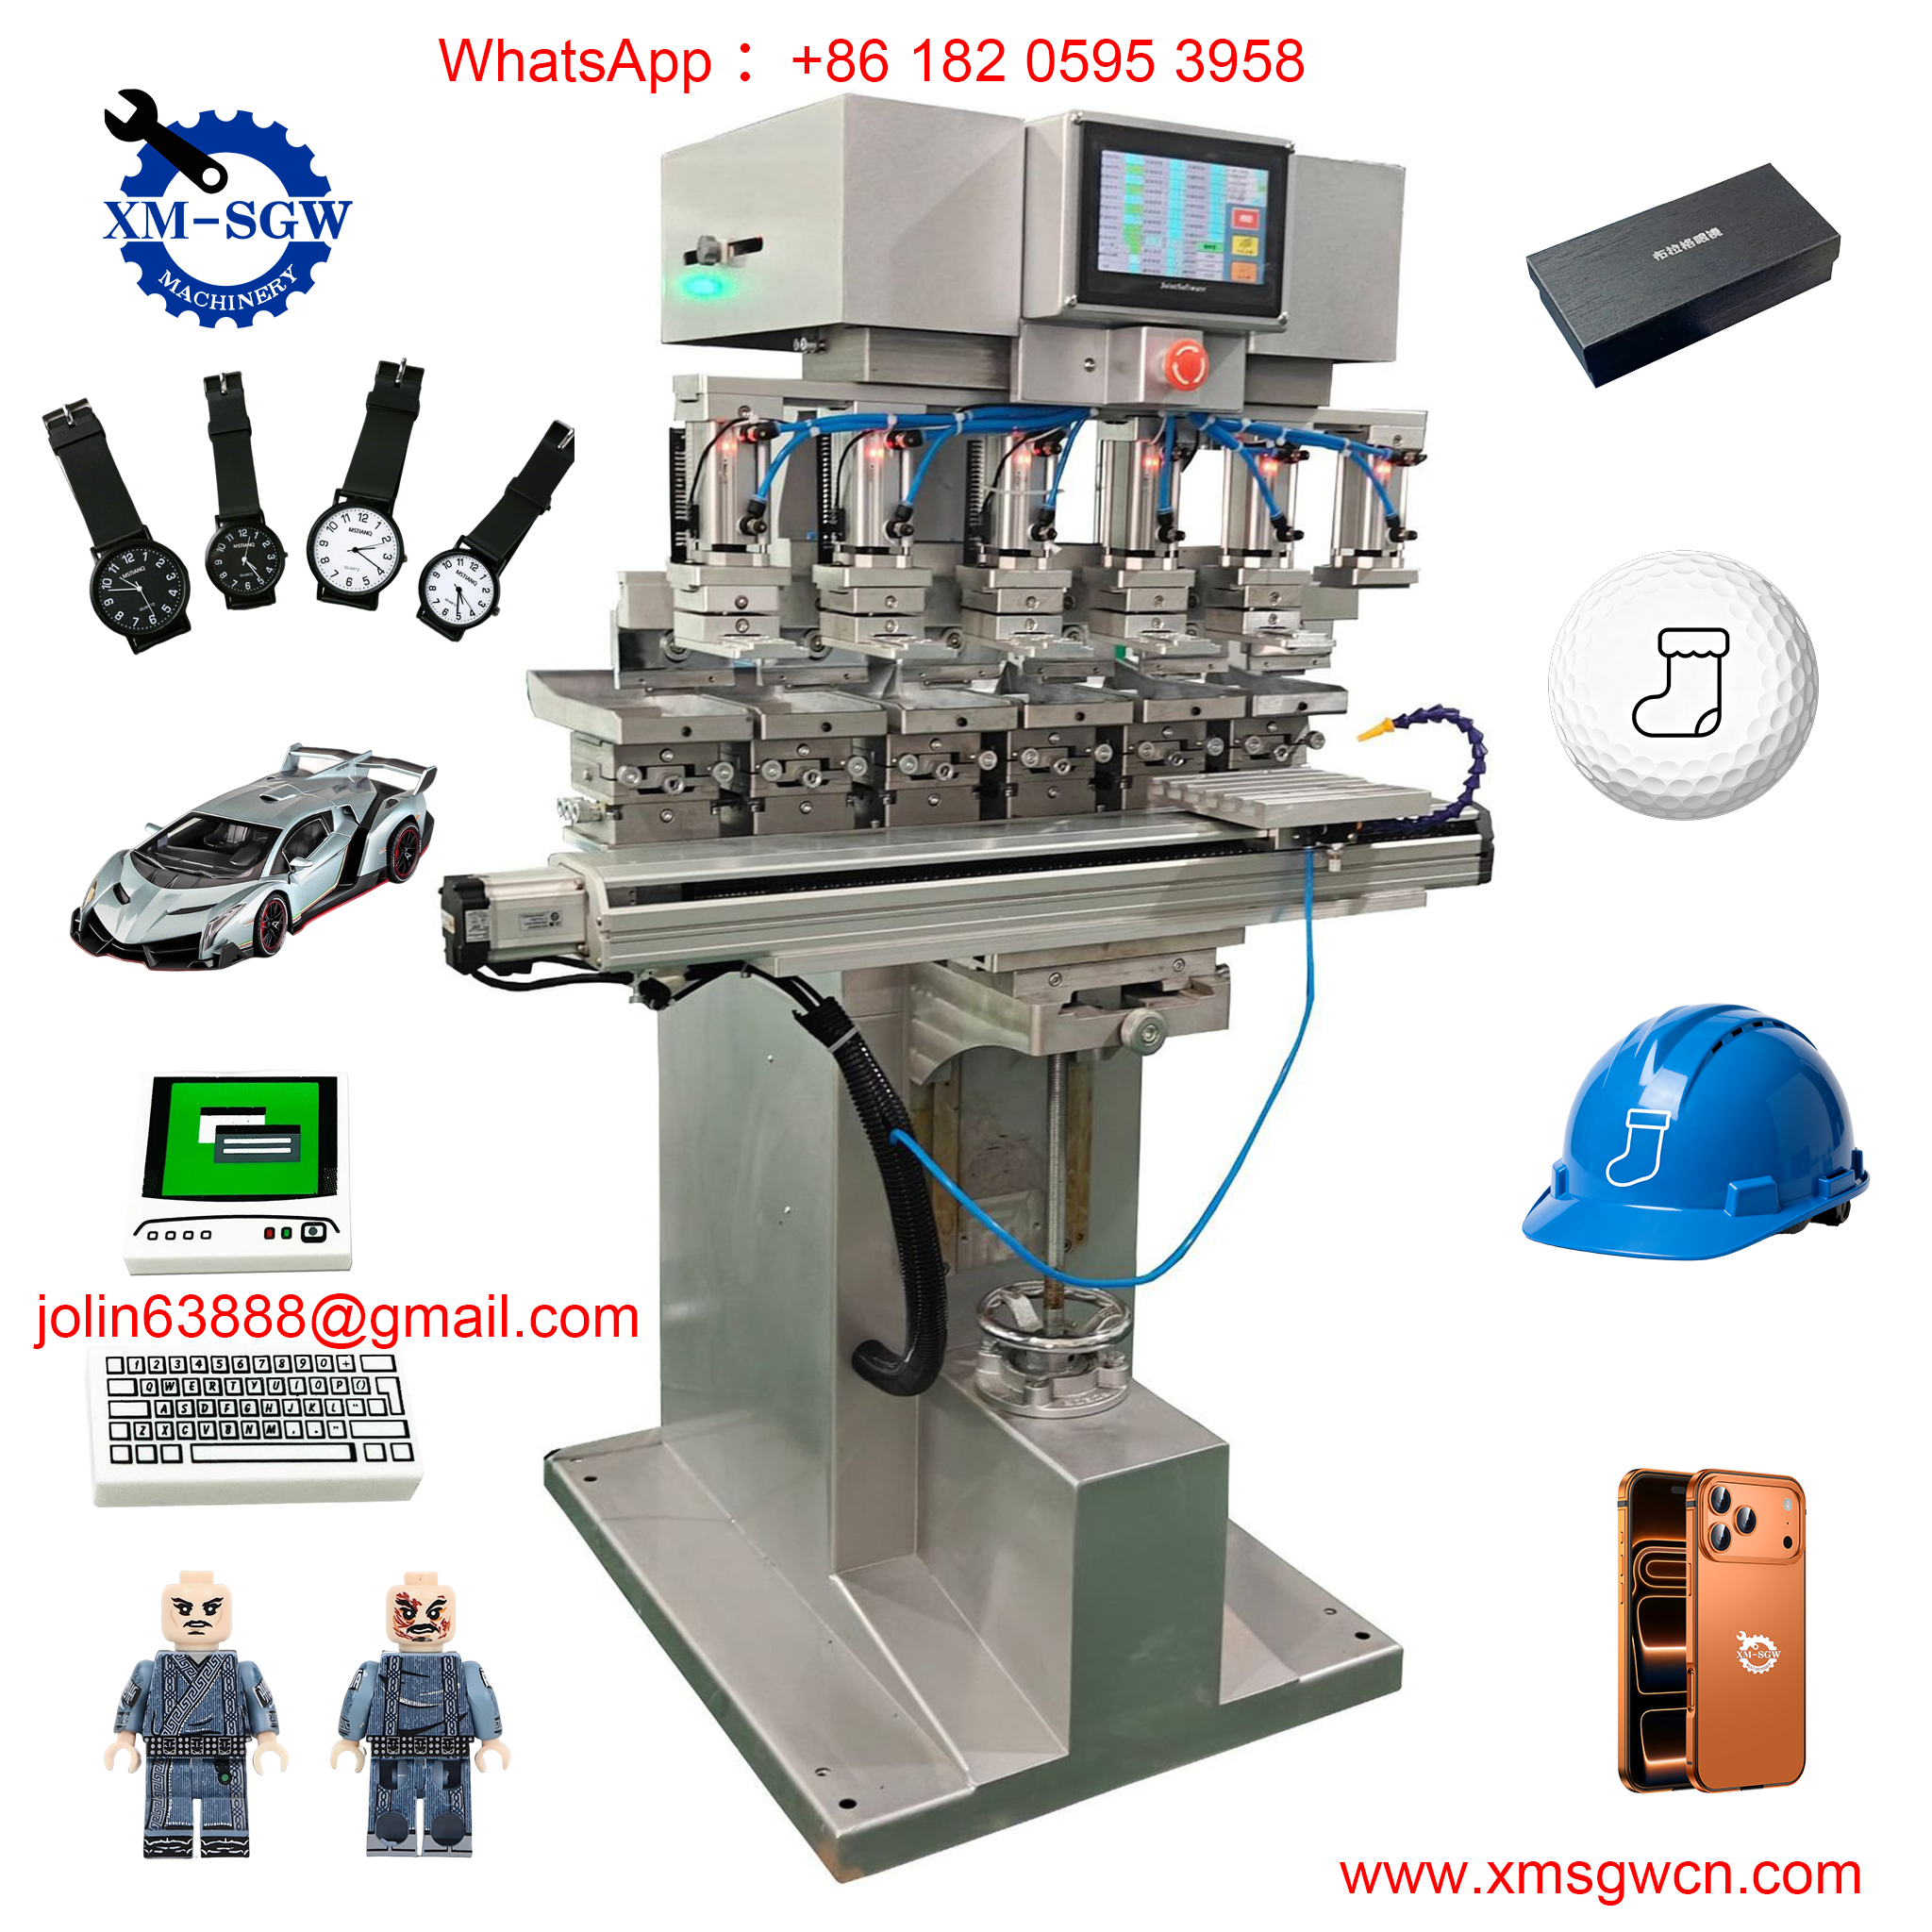
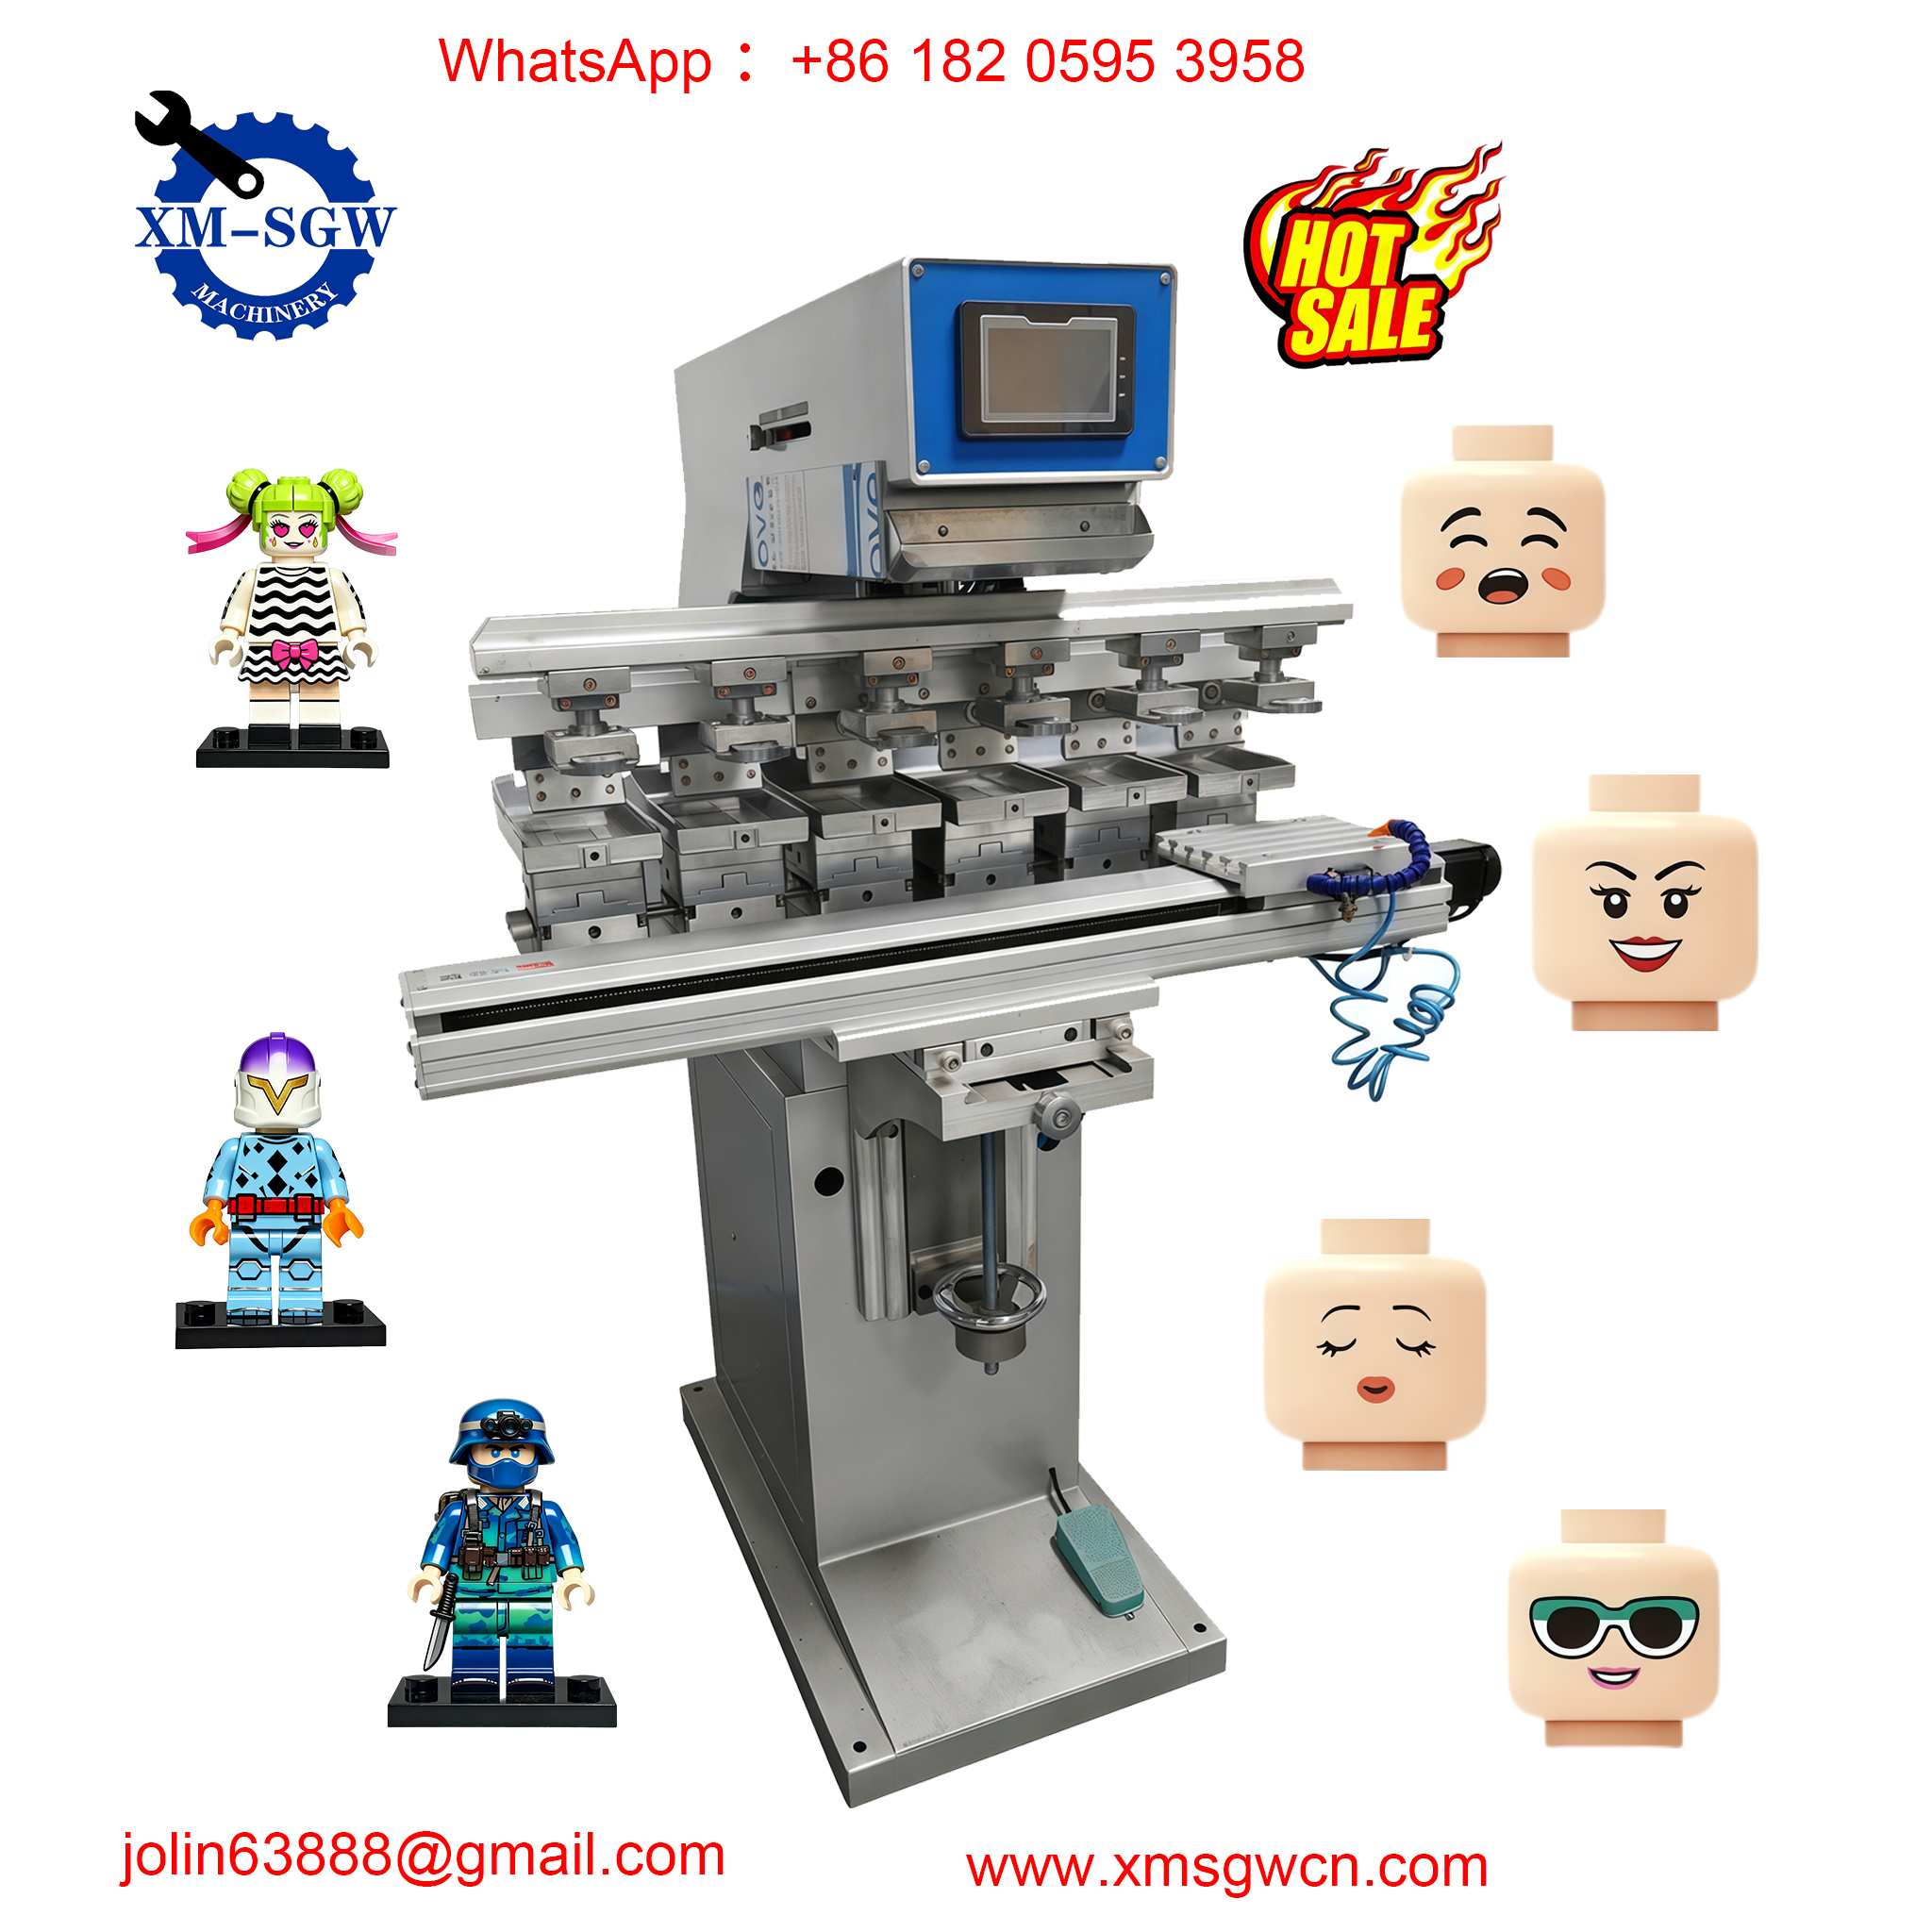
For multi-color pad printing machines, this system coordinates the movement of multiple print heads, clichés, and workpiece stations to align multiple colored layers into a single, cohesive graphic. Common designs include rotary index (turntable) systems, linear shuttle tables, and independent multi-head setups, all engineered to deliver precise, repeatable registration for complex multi-color designs.
Step-by-Step Breakdown of the Pad Printing Machine Working Cycle
The core working principle of a pad printing machine follows a continuous, repeatable 6-step cycle, completed in just 1–3 seconds for most standard applications. Below is a detailed breakdown of each step, using the industry-standard closed ink cup single-color pad printer as the reference:
Step 1: Initial Setup & Machine Preparation
Before the print cycle begins, the machine is configured for your specific application:
- The custom-etched cliché is secured to the machine’s plate table, and the closed ink cup is mounted over the cliché and filled with properly mixed, substrate-matched printing ink.
- The custom silicone pad is installed on the machine’s print head, and the workpiece jig is fixed in place to hold the target part securely.
- Critical print parameters (pad pressure, descent speed, dwell time, ink cup stroke length) are programmed into the PLC control system, and test runs are performed to calibrate registration and print quality.
Step 2: Ink Doctoring & Image Cavity Filling
The print cycle initiates with the closed ink cup traversing horizontally across the surface of the cliché. As it moves:
- The ink inside the cup flows into the micro-etched image cavities on the cliché, completely filling every recessed area with wet ink.
- The precision ceramic doctor ring on the bottom edge of the cup scrapes all excess ink off the flat, non-etched surface of the cliché, leaving ink only in the recessed image cavities. This ensures a clean, sharp image with no background smudging.
- The ink cup then returns to its resting position, fully exposing the ink-filled image on the cliché to the silicone pad above.
Step 3: Pad Descent & Ink Pick-Up
With the ink-filled image exposed, the print head lowers the silicone pad vertically down onto the cliché:
- The pad makes uniform contact with the cliché surface, applying controlled, even pressure across the entire image area.
- Due to the surface tension of the wet ink and the controlled surface energy of the silicone pad, the ink transfers from the etched cavities in the cliché onto the surface of the silicone pad, perfectly replicating the desired image.
- The pad’s flat contact with the rigid cliché ensures every detail of the image is picked up completely, with no missing lines or uneven ink coverage.
Step 4: Pad Lift & Solvent Flash-Off
Once the ink is picked up, the print head lifts the silicone pad vertically away from the cliché:
- As the pad rises, it holds the wet ink image intact on its surface, with no smudging or distortion.
- The pad pauses briefly (typically 0.1–0.5 seconds, adjustable via the control system) to allow the outer layer of the ink to evaporate a small amount of solvent. This “flash-off” process makes the ink surface slightly tacky, which dramatically improves its adhesion to the target substrate and ensures clean, complete transfer in the next step.
Step 5: Pad Descent & Image Transfer to the Target Substrate
This is the critical final transfer step, where the image is applied to your product:
- The print head moves the ink-carrying silicone pad horizontally over the target workpiece, which is held securely in the custom jig.
- The pad lowers vertically onto the workpiece surface. Even if the surface is curved, angled, recessed, or irregular, the silicone pad’s elastic properties allow it to deform and conform perfectly to the part’s geometry, making uniform contact across the entire image area.
- With controlled pressure and dwell time, the tacky ink adheres to the workpiece surface. The core scientific principle here is adhesion balance: the bond between the ink and the workpiece substrate becomes stronger than the bond between the ink and the silicone pad, so the entire image transfers cleanly and completely from the pad to the part, with no ink residue left on the pad.
Step 6: Pad Reset & Cycle Restart
With the image successfully transferred, the print head lifts the silicone pad back to its original home position:
- The closed ink cup traverses across the cliché again, re-filling the image cavities with fresh ink for the next cycle.
- The machine is now ready to repeat the entire 6-step cycle, with the operator able to load a new workpiece for semi-automatic machines, or the automated line feeding a new part automatically for fully integrated systems.
Key Scientific Principles That Make Pad Printing Work
Beyond the mechanical cycle, three core scientific principles govern the performance and reliability of pad printing:
- Surface Tension & Adhesion Balance: The entire image transfer process relies on a precise balance of surface tension and adhesive forces. For successful pick-up, the ink’s adhesion to the silicone pad must be greater than its adhesion to the cliché cavity. For successful transfer, the ink’s adhesion to the workpiece must be greater than its adhesion to the silicone pad. This balance is controlled by ink formulation, silicone pad material, and substrate surface preparation.
- Elastic Deformation of Silicone: The silicone pad’s ability to deform elastically (and return to its original shape) is what allows pad printing to work on complex 3D surfaces. Unlike rigid transfer media, the silicone conforms to curves, angles, and recesses without distorting the printed image, ensuring uniform ink transfer across every point of the design.
- Ink Film Formation & Curing: After transfer, the ink forms a durable, adherent film on the substrate. Solvent-based inks cure as the remaining solvent evaporates, while UV-curable inks cure instantly when exposed to UV light, creating a scratch-resistant, waterproof, and fade-proof finish that meets strict industry durability standards.
Working Principle Differences Between Common Pad Printing Machine Types
While the core indirect transfer principle remains the same across all pad printing machines, different machine designs have optimized working cycles for specific applications:
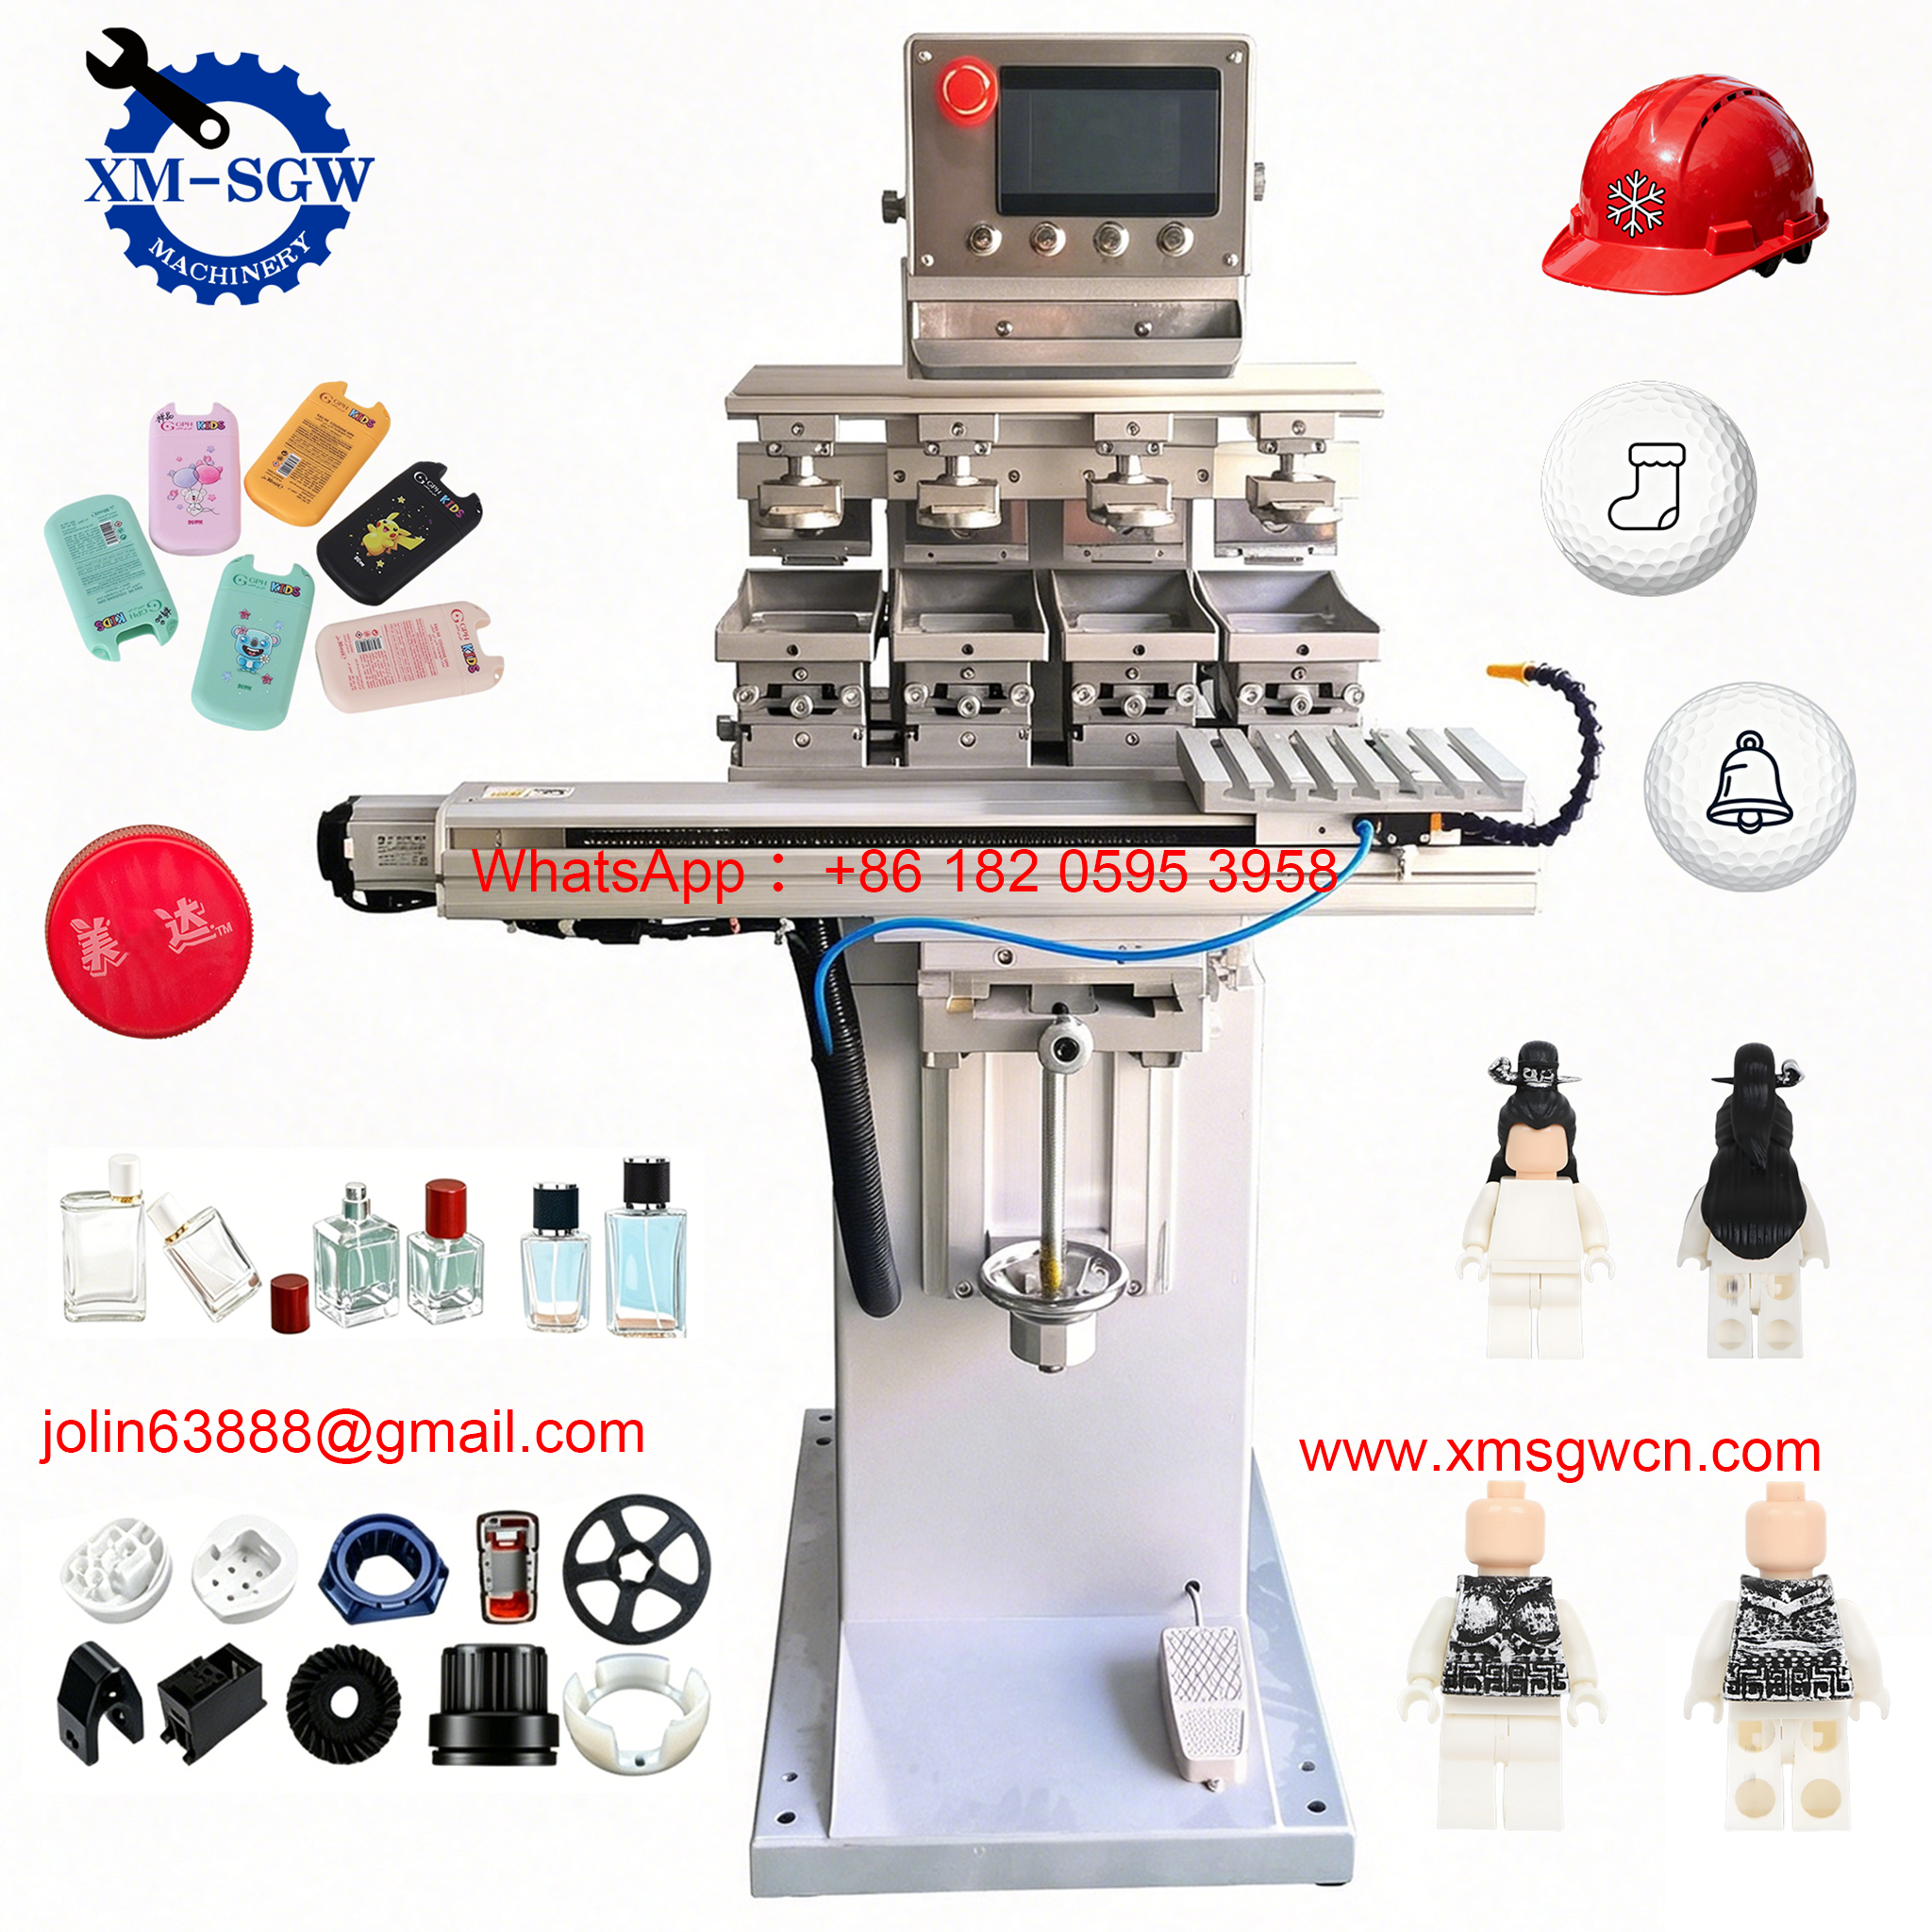
- Single-Color vs. Multi-Color Machines: Single-color machines use one print head, one cliché, and one pad to print one color per cycle. Multi-color machines use multiple independent print heads, each with its own cliché and pad, and a rotary or shuttle table to move the workpiece between stations, printing one color per station with precise registration for complex multi-color graphics.
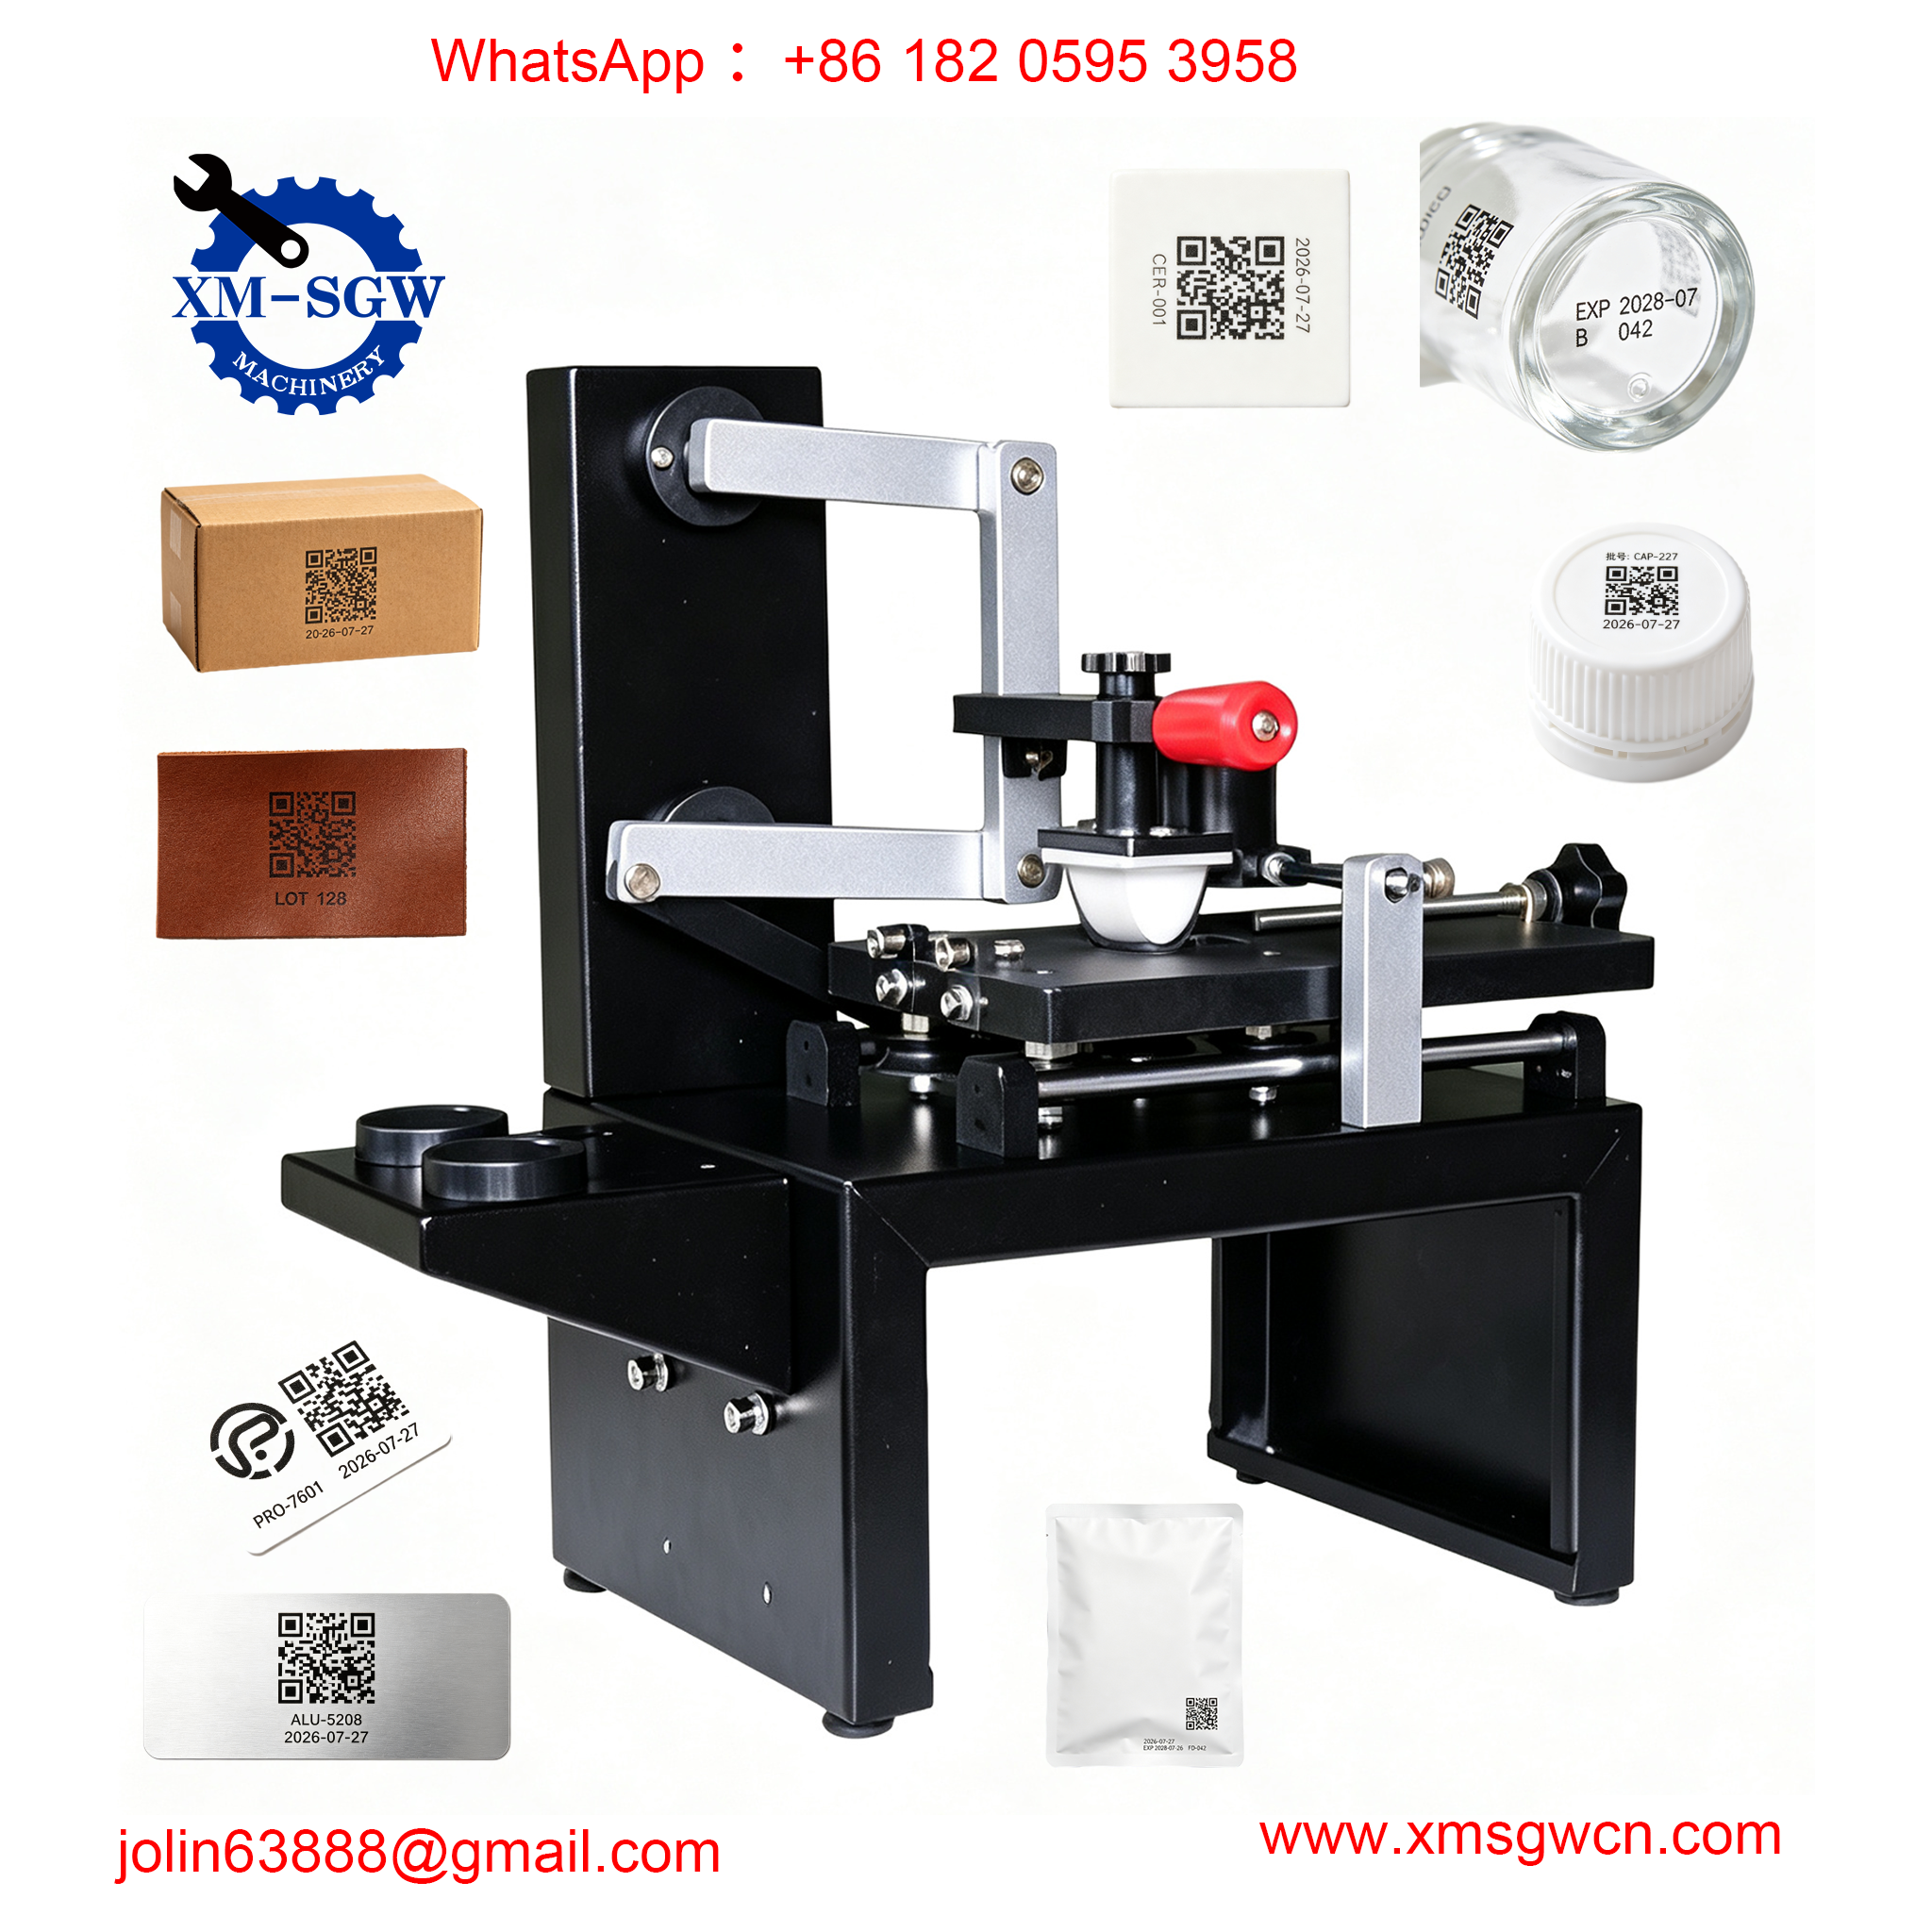
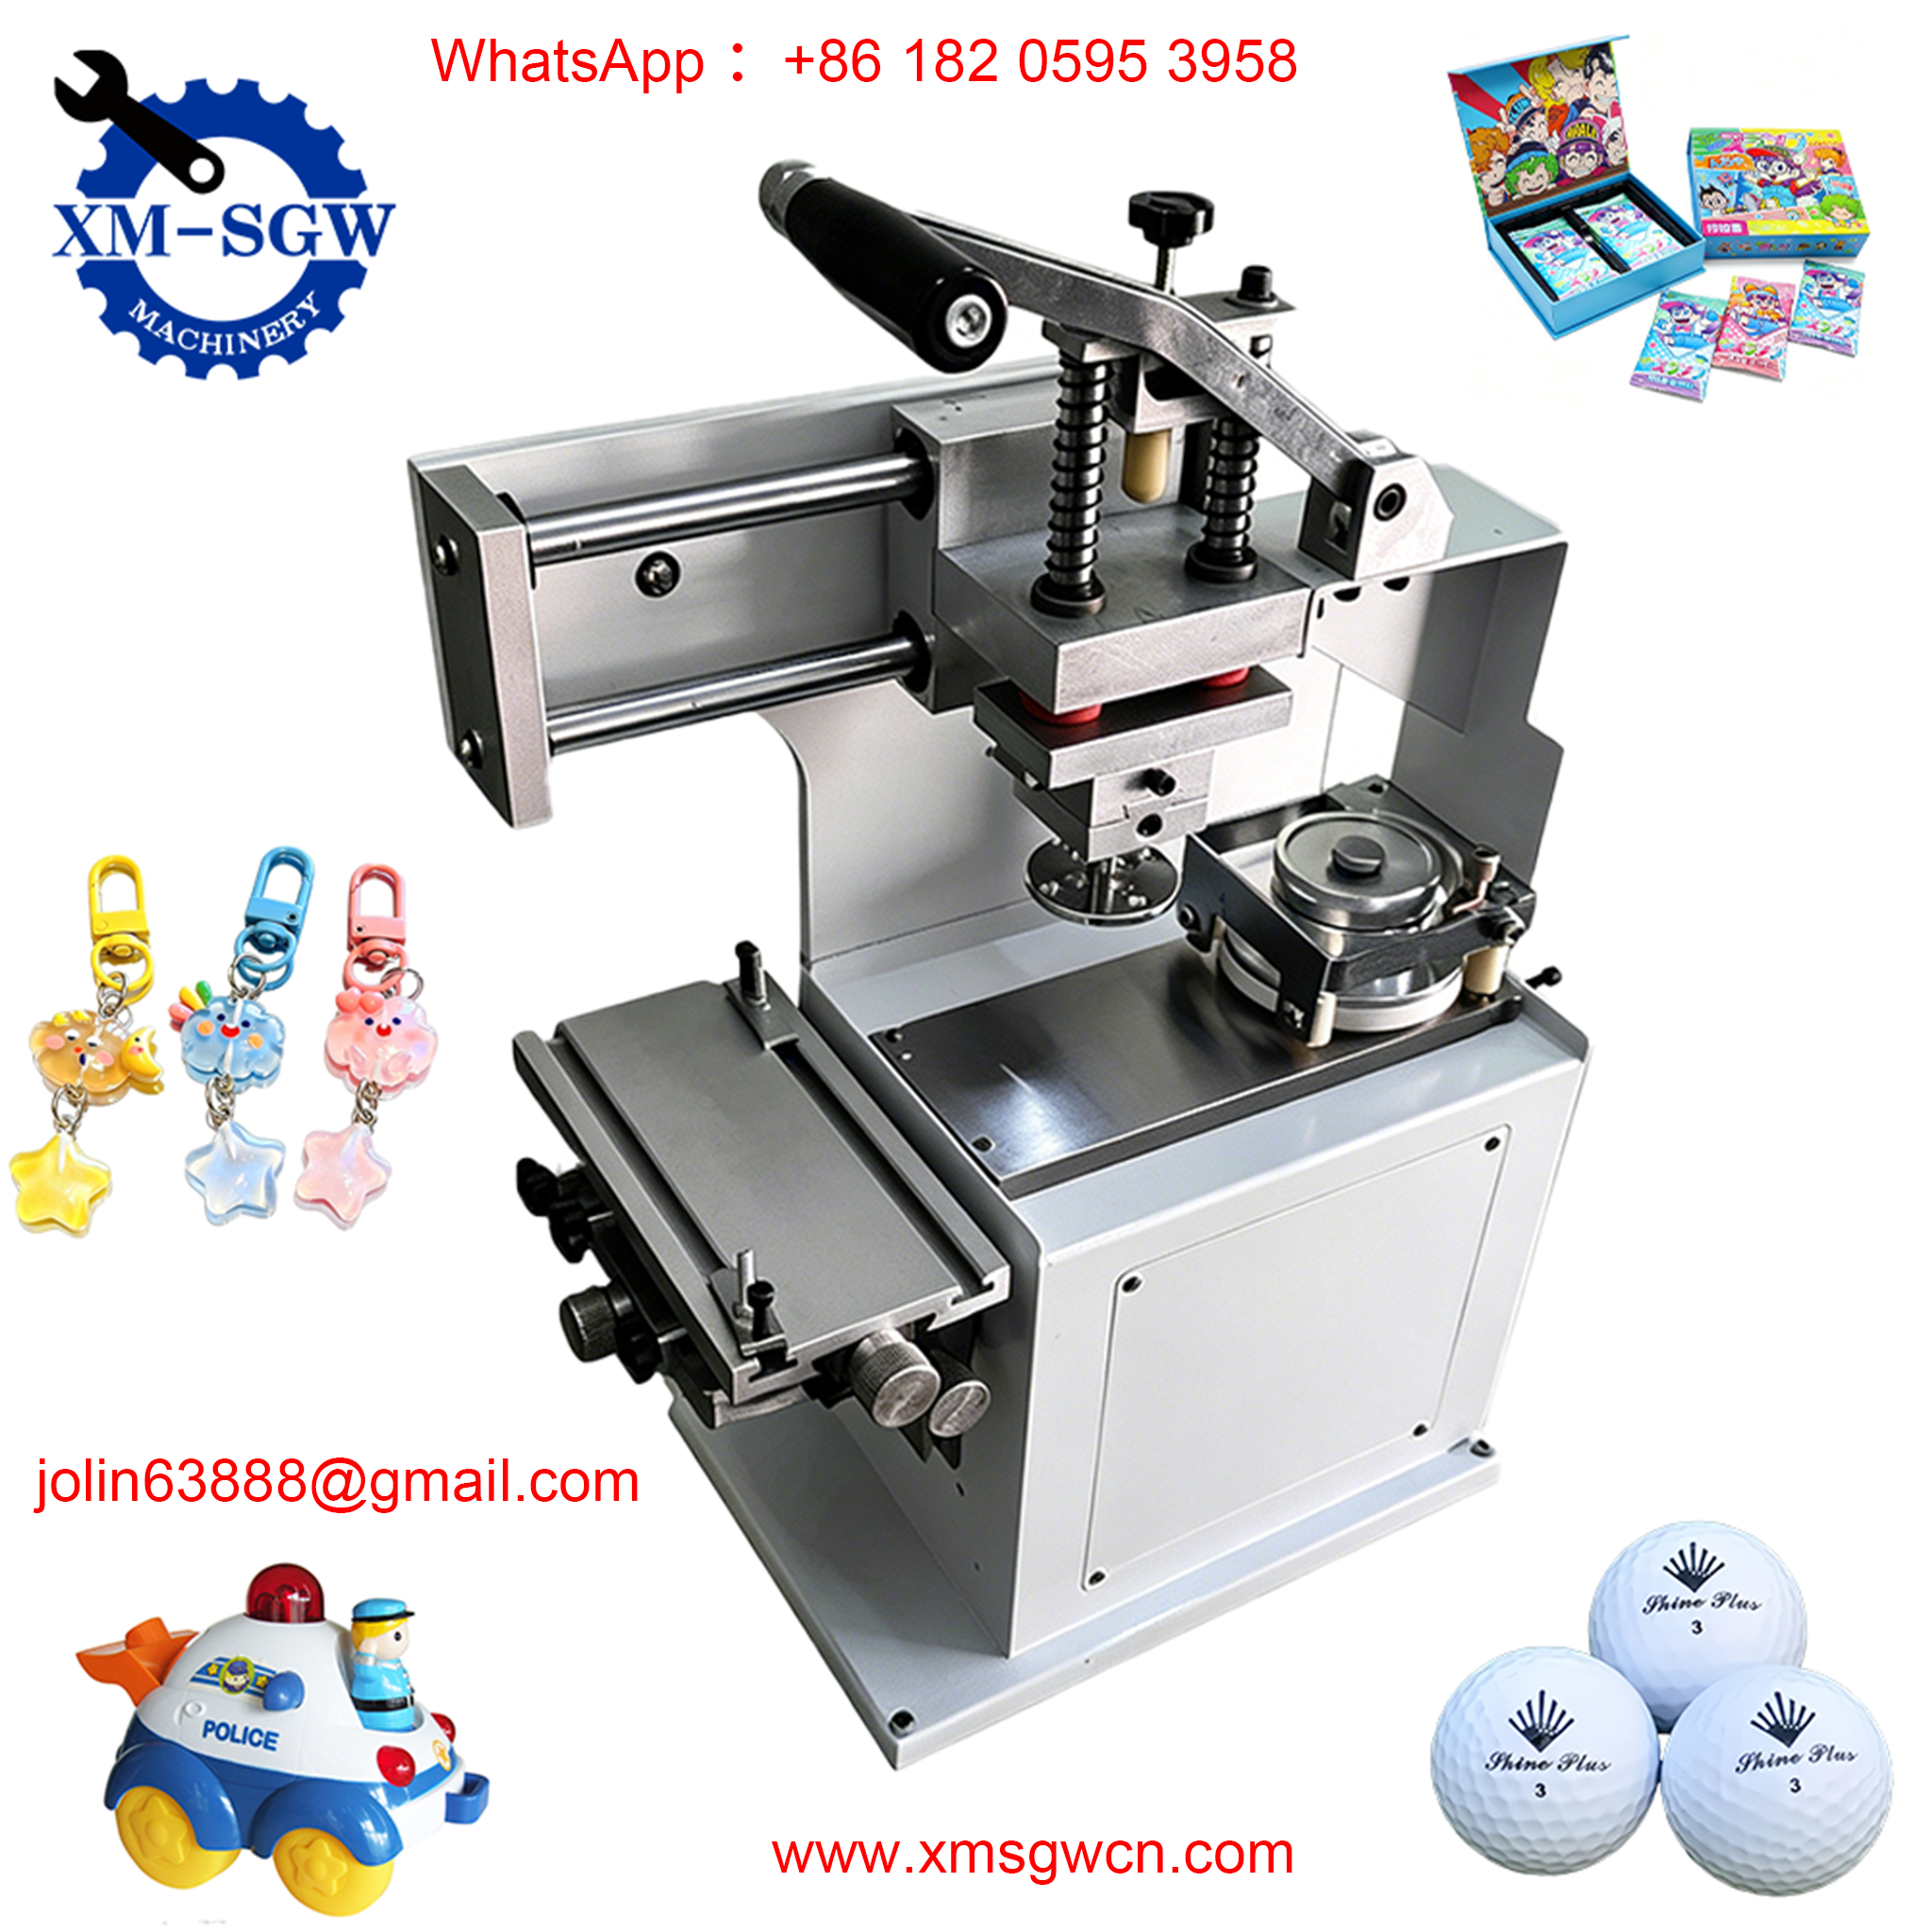
- Semi-Automatic vs. Fully Automatic Machines: Semi-automatic machines rely on an operator to load and unload workpieces, with the machine completing the print cycle automatically. Fully automatic pad printing lines integrate robotic part handling, vision positioning systems, inline quality inspection, and UV curing, with the entire process synchronized via PLC control for uninterrupted high-volume production.
- Open Trough vs. Closed Ink Cup Machines: Open trough machines use a two-step squeegee process to spread and wipe ink, while closed ink cup machines combine ink filling and doctoring into a single pass, delivering more consistent ink viscosity, less waste, and a more stable print cycle for industrial production.
Frequently Asked Questions (FAQs) About Pad Printing Machine Working Principle
Q1: What is the main difference between pad printing and screen printing?
A: The core difference is the transfer mechanism. Pad printing is an indirect printing method that uses a flexible silicone pad to transfer images to complex, curved, and irregular surfaces. Screen printing is a direct printing method that forces ink through a mesh stencil, optimized for flat, large-surface-area printing. Pad printing excels at high-precision small graphics on 3D parts, while screen printing is better for large, solid-color designs on flat substrates.
Q2: Why is the silicone pad the most critical part of a pad printing machine?
A: The silicone pad is the sole transfer medium for the printed image. Its elastic properties determine how well it conforms to complex part geometries, its surface energy controls ink pick-up and release, and its hardness and shape directly impact print sharpness and registration accuracy. Even the highest-quality machine will produce poor results with an incorrectly selected or worn silicone pad.
Q3: What materials can a pad printing machine print on?
A: Pad printing can print on virtually any solid substrate, including plastic, metal, glass, ceramic, silicone, rubber, wood, leather, and coated paper. The key to successful printing is matching the ink formulation to the substrate material, and adjusting print parameters to optimize transfer. Our one-stop pad printing service includes full substrate testing and ink matching for your specific application.
Q4: How accurate is pad printing for multi-color designs?
A: Industrial-grade servo-driven pad printing machines deliver multi-color registration accuracy of ±0.01mm, which meets the strict precision requirements of automotive, medical device, and electronics industries. This level of accuracy is achieved through precision-machined components, synchronized PLC control, and custom workpiece fixturing.
Q5: What causes common pad printing defects like blurry images or poor ink transfer?
Nearly all print defects stem from an imbalance in the core principles of pad printing. Common causes include incorrect ink viscosity, improperly selected silicone pad hardness, incorrect cliché etching depth, insufficient print pressure, improper solvent flash-off time, or poorly prepared substrate surfaces. Understanding the machine’s working principle allows you to quickly diagnose and resolve these issues, minimizing production downtime.
Final Thoughts & Next Steps
The working principle of a pad printing machine is deceptively simple in concept, but requires precise engineering and optimized parameters to deliver consistent, high-quality results in industrial production. At its core, it is a masterclass in material science and mechanical precision, leveraging the unique properties of silicone and surface tension to print on surfaces that no other technology can reach.
Whether you are new to pad printing and looking for your first machine, an existing manufacturer upgrading to automated multi-color lines, or a print shop expanding your service offerings, understanding this core working principle is the first step to choosing the right equipment and optimizing your production process.
As a leading provider of end-to-end pad printing solutions, we offer everything from custom machine manufacturing and matching consumables to on-site installation, operator training, and lifetime technical support. Contact us today to request a free, no-obligation customized quote, send your product samples for free print testing, or book a live online demo to see our pad printing machines in action.