Screen printing is a time-tested, versatile printing technique that has stood the test of time—from traditional handcrafted designs to modern industrial mass production. Used across countless industries, from textiles and advertising to electronics and packaging, screen printers deliver vibrant, durable prints on almost any surface, including flat, curved, and irregular substrates. But for those new to the technology, or even seasoned professionals looking to deepen their understanding, the question remains: how exactly does a screen printer work? In this guide, we break down the core working principle, key components, step-by-step process, and why this technology remains a top choice for high-quality printing worldwide.

The Core Principle of Screen Printing: Simplicity Meets Precision
At its essence, screen printing operates on a straightforward stencil-based transfer principle. Unlike digital printing, which uses inkjet or laser technology to deposit ink directly, screen printing uses a mesh screen (the “stencil”) to control where ink is applied to the substrate. The basic idea is simple: ink is forced through the open areas of the mesh screen onto the surface below, while the blocked areas of the screen prevent ink from passing through—creating the desired design, logo, or pattern.
This principle dates back centuries (traditionally using silk mesh, hence the name “silk screening”), but modern screen printers have refined the process with advanced materials and automation to ensure consistency, speed, and precision. The key to successful screen printing lies in three critical elements: a properly prepared screen stencil, the right ink for the substrate, and synchronized movement between the screen, squeegee, and substrate to ensure even ink transfer[3].
Key Components of a Screen Printer: What Makes It Work?
Before diving into the step-by-step process, it’s essential to understand the core components of a screen printer—each plays a vital role in delivering clean, consistent prints. Whether you’re using a manual tabletop model or a fully automatic industrial machine, these components remain consistent:
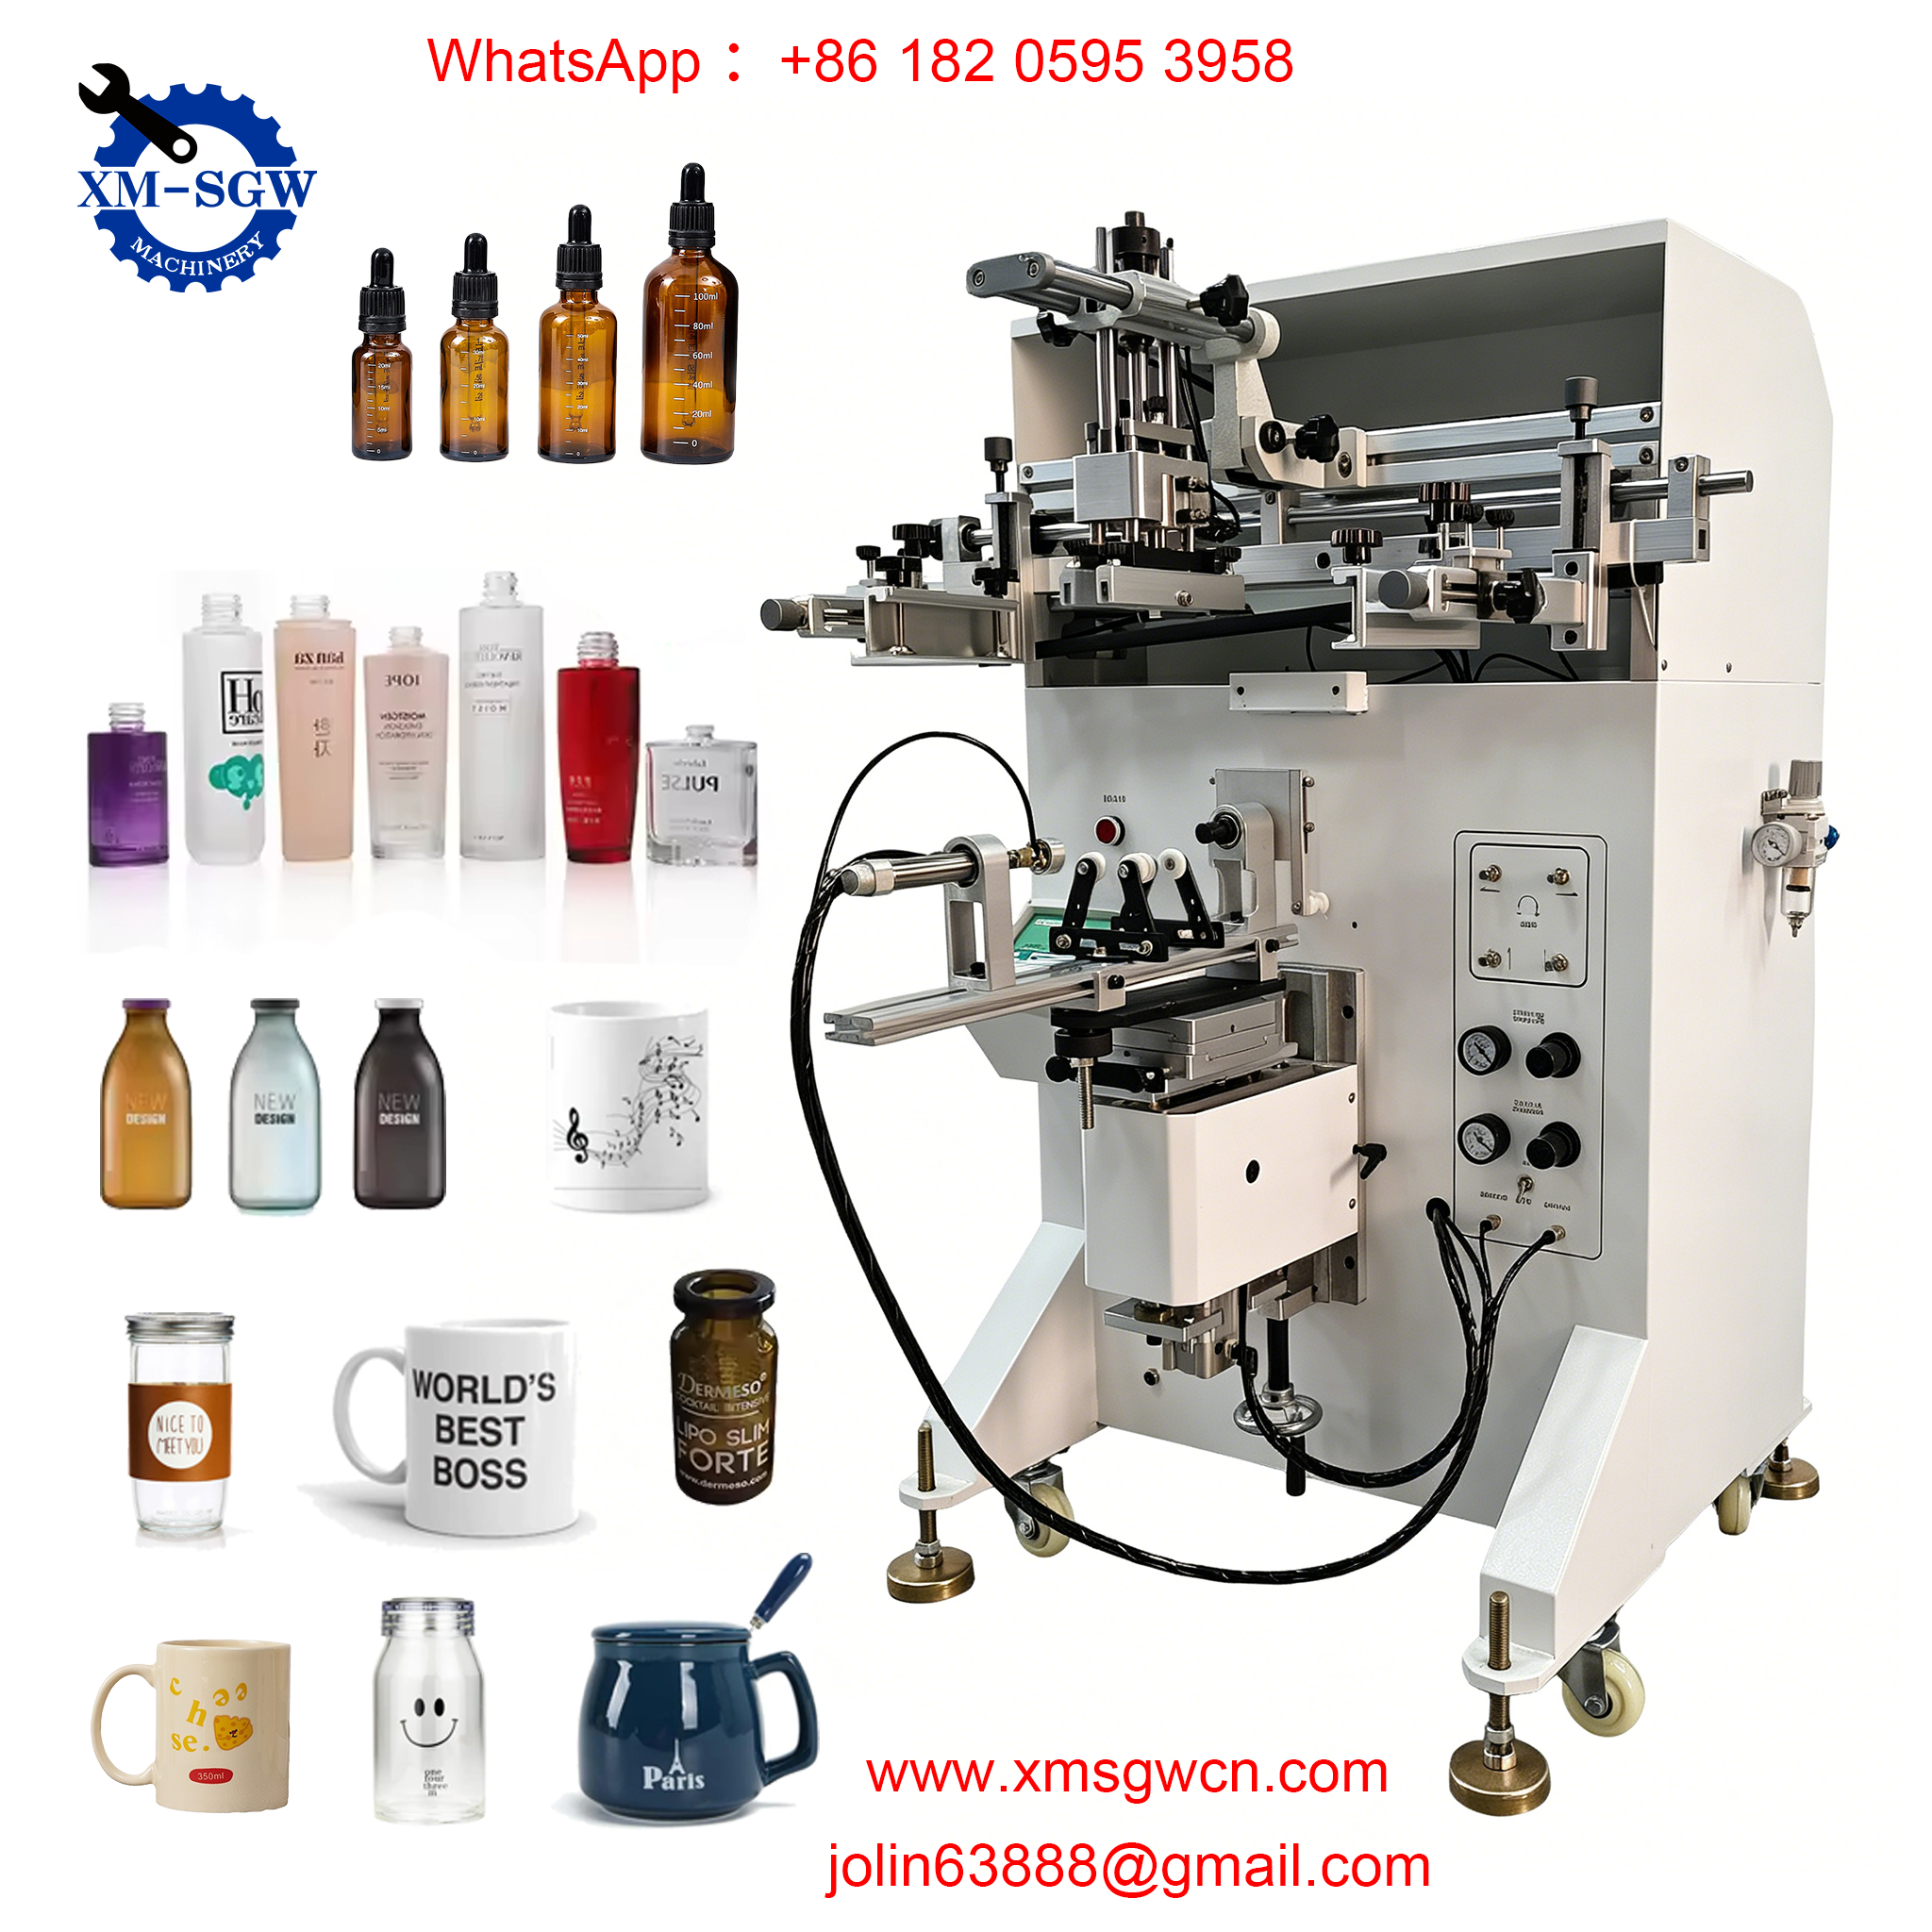
1. Screen Mesh (Printing Plate)
The screen mesh is the foundation of the printing process. Traditionally made of silk, modern screens are typically crafted from synthetic materials like polyester (the most common) or nylon, with stainless steel mesh used for specialized high-precision applications (e.g., electronics printing). The mesh is stretched tightly over a rigid frame (aluminum or steel) to ensure tension—this tension is critical, as it allows the screen to spring back after being pressed, preventing smudging and ensuring sharp details[3].
The mesh’s “count” (number of threads per inch) determines the print quality: higher mesh counts (180–300+) are used for fine details and thin ink layers, while lower counts (100–160) work best for thicker inks and bold designs. The screen is coated with a light-sensitive emulsion, which hardens when exposed to UV light—creating the stencil by blocking ink in certain areas and leaving others open.
2. Squeegee
The squeegee is a rubber or polyurethane blade that applies pressure to the screen mesh, forcing ink through the open stencil areas onto the substrate. Its angle (typically 60–75 degrees) and pressure are adjustable to suit different inks and substrates—too much pressure can damage the screen or cause ink bleeding, while too little pressure results in incomplete ink transfer.
In automatic machines, the squeegee is mounted on a carriage that moves smoothly across the screen, ensuring consistent pressure and speed. Some advanced models also include a “flood bar,” which pre-coats the screen with ink before the squeegee stroke to ensure even coverage.
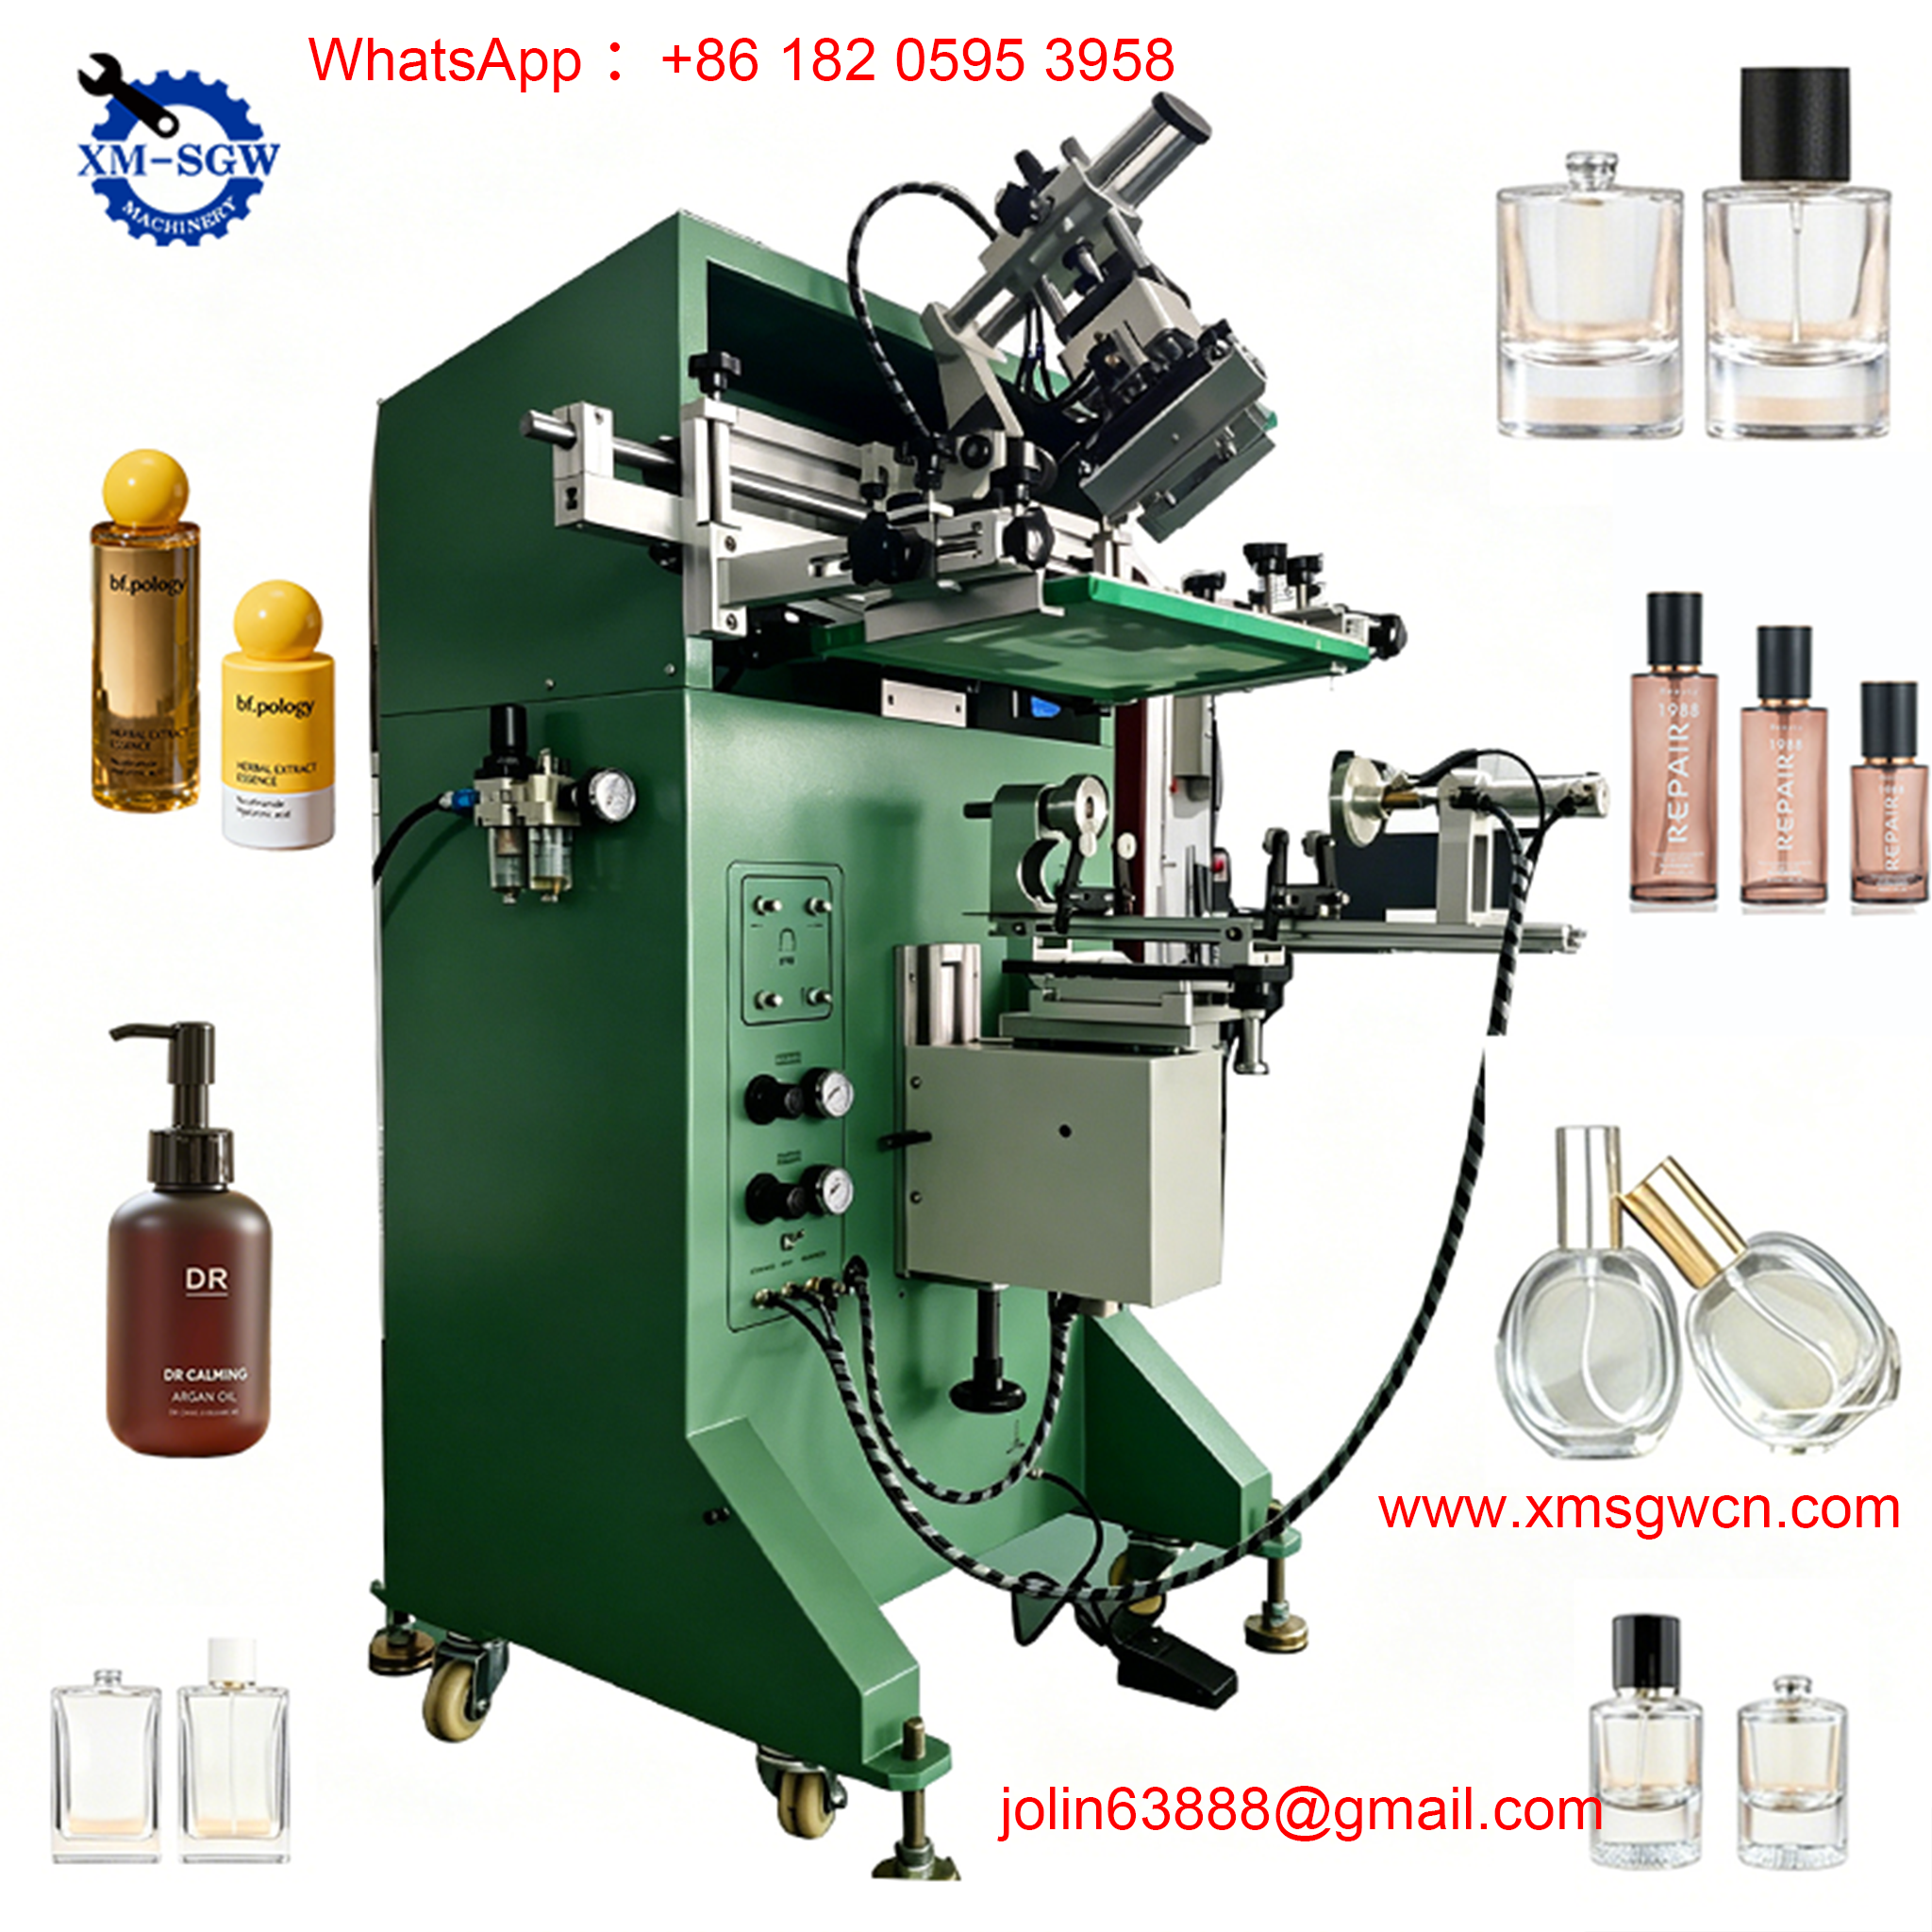
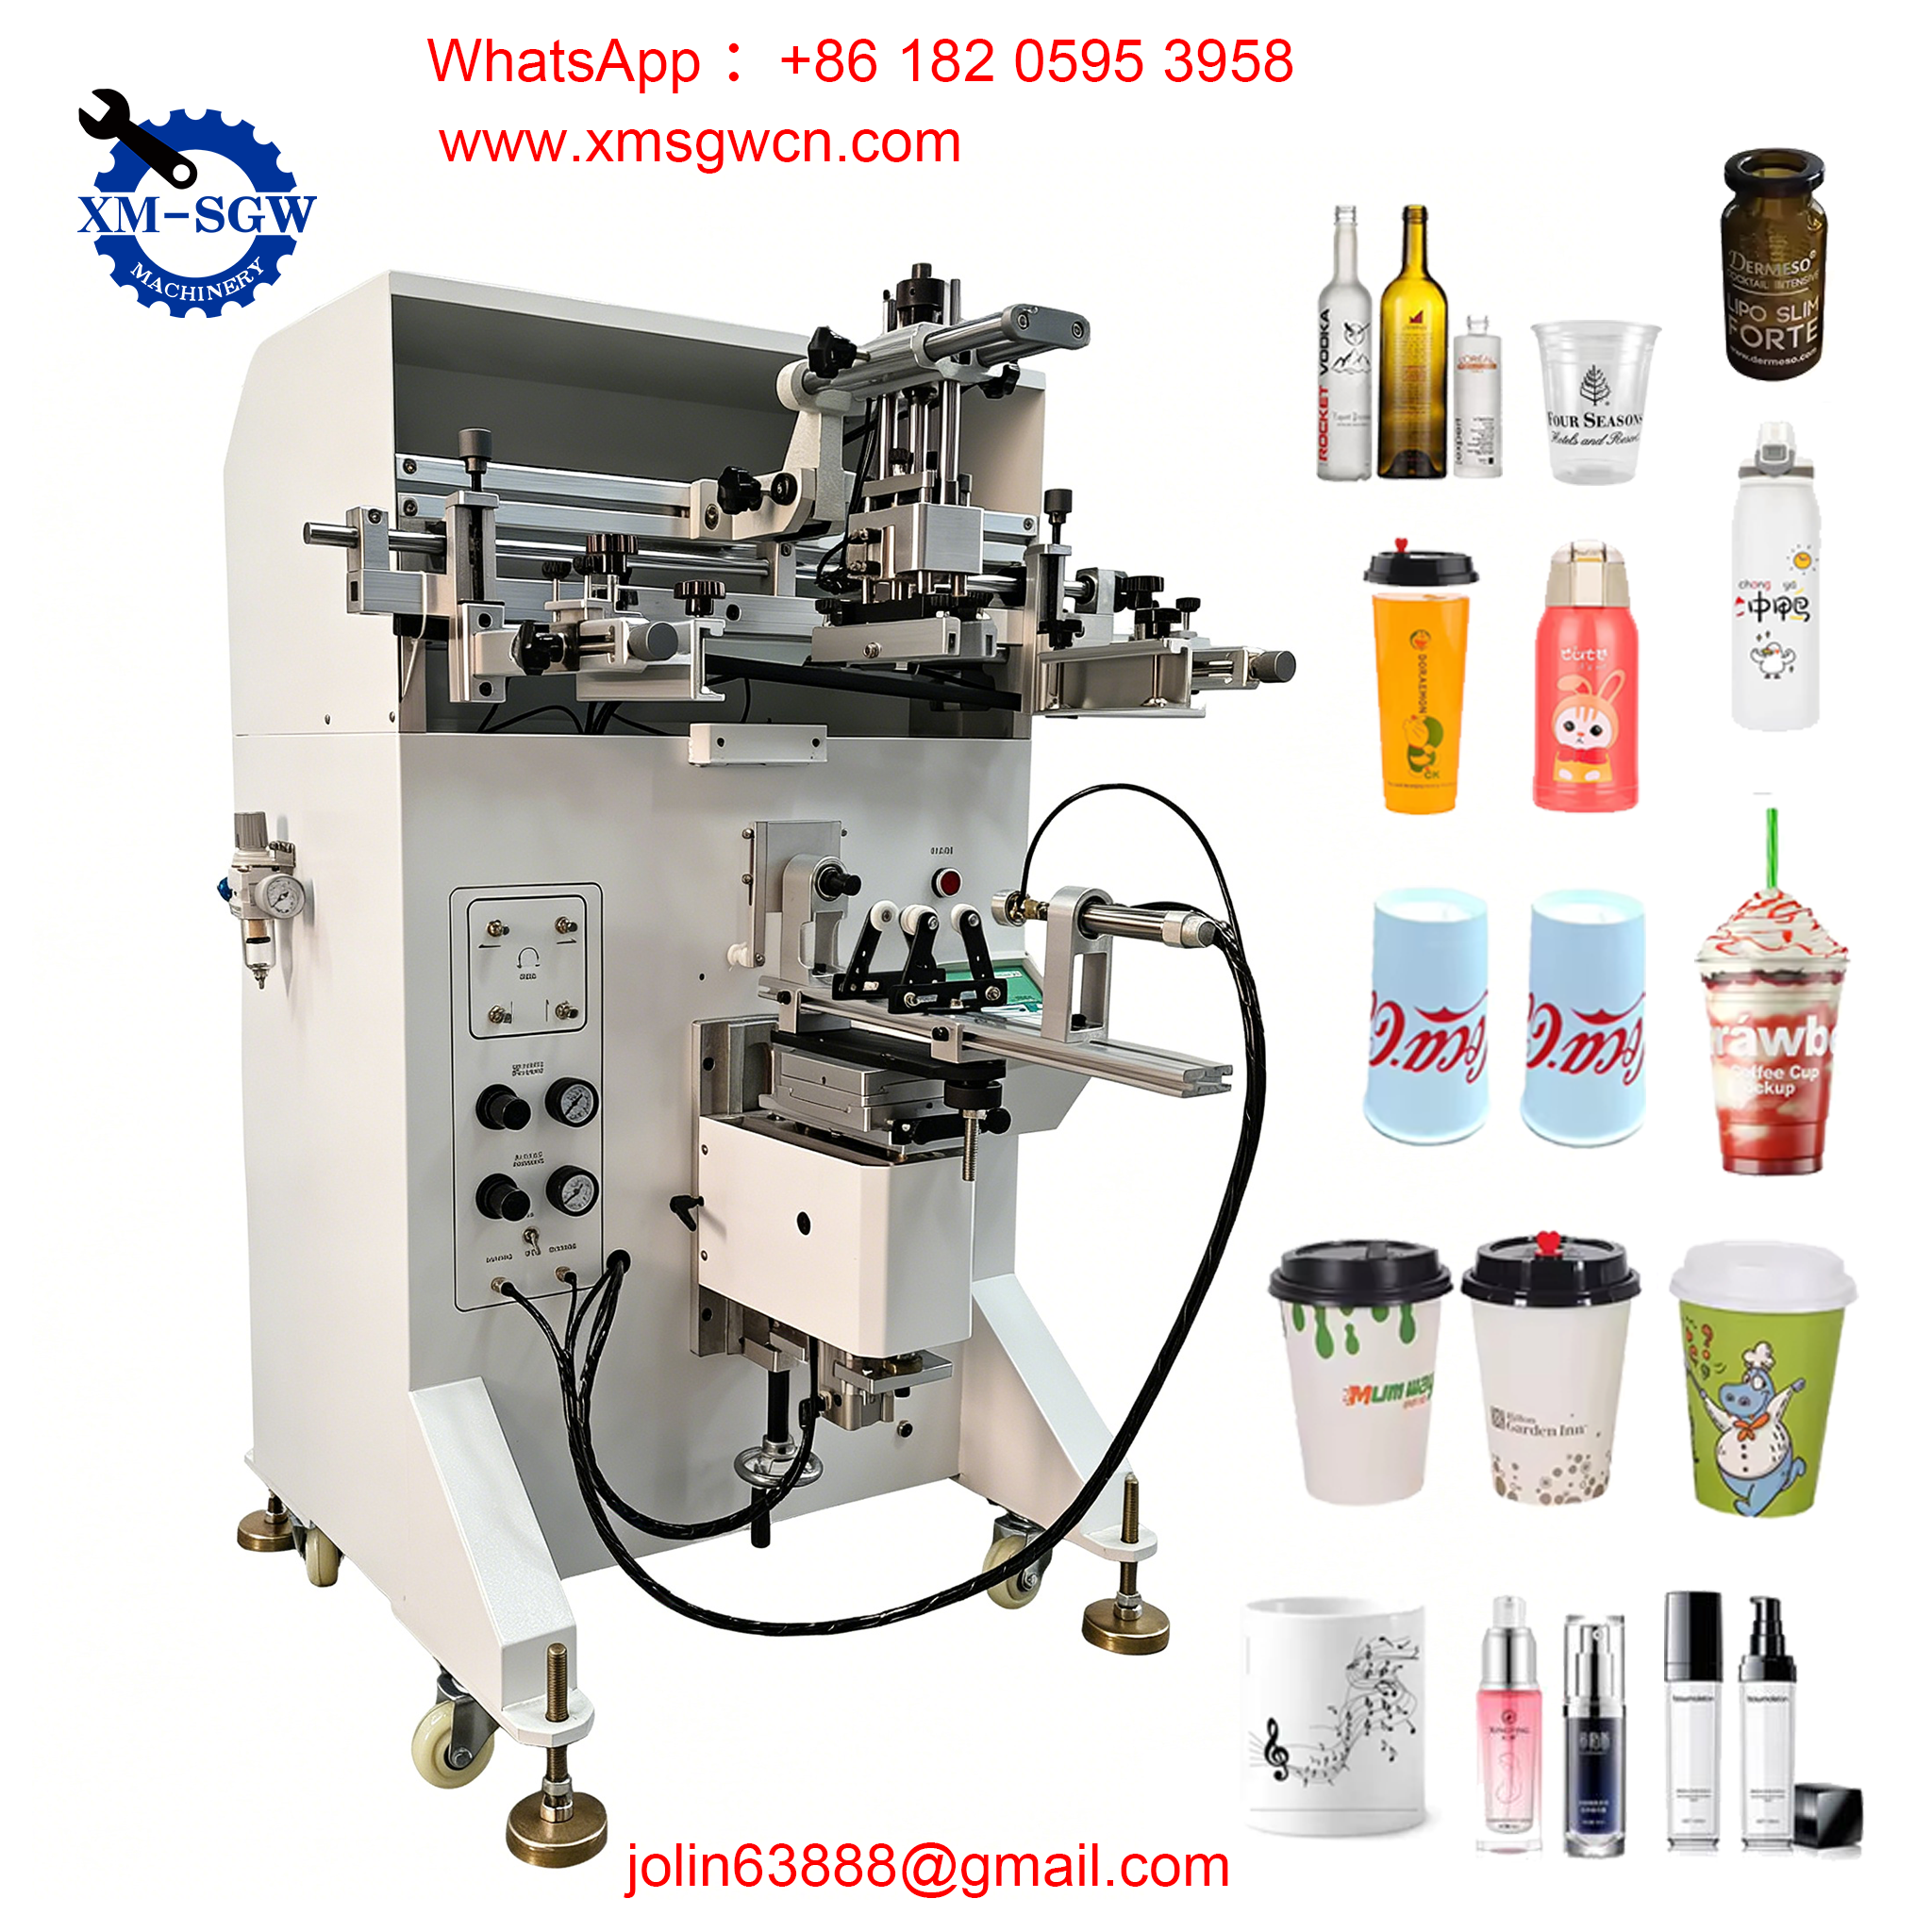
3. Substrate Holding Mechanism (Platen)
The substrate (the material being printed on—e.g., fabric, plastic, glass, metal, or paper) is held in place by a flat or curved platen (also called a pallet). The platen is often equipped with vacuum suction or adhesive to keep the substrate stationary during printing, preventing misalignment and smudging. For curved substrates (e.g., bottles, mugs), specialized curved platens or rotating fixtures are used to match the substrate’s shape.
4. Ink System
Screen printing inks are formulated to adhere to specific substrates—water-based inks for fabrics, solvent-based inks for plastics and metals, and UV-curable inks for instant drying. The ink is placed at the top of the screen before printing, and the squeegee pushes it across the mesh, filling the open stencil areas and transferring it to the substrate. The thickness of the ink layer (30–1000μm, depending on the application) is one of screen printing’s key advantages, providing vibrant color and a tactile finish unmatched by other printing methods.
5. Registration System
For multi-color prints, a registration system ensures each color aligns perfectly with the others. This can be manual (using alignment marks on the screen and platen) or automatic (using sensors and computerized controls). Proper registration is critical for creating sharp, professional multi-color designs—such as CMYK prints, which require precise alignment of cyan, magenta, yellow, and black inks.
Step-by-Step: How a Screen Printer Works (From Setup to Finished Print)
Now that we’ve covered the key components, let’s walk through the complete working process of a screen printer—whether manual or automatic, the core steps remain the same:
Step 1: Screen Preparation (Stencil Creation)
The first step is creating the stencil on the screen mesh. This involves coating the mesh with a light-sensitive emulsion, then placing a transparency of the design over the emulsion. The screen is exposed to UV light, which hardens the emulsion in areas where light passes through (blocking ink), while the unexposed areas (where the design is) remain soft. The screen is then washed with water to remove the soft emulsion, leaving open mesh areas that match the design—this is the stencil. The screen is then dried and mounted onto the printer frame.
Step 2: Substrate Setup
The substrate is placed on the platen and secured (via vacuum, adhesive, or clamps) to ensure it doesn’t move during printing. The platen is adjusted to the correct height to maintain a small gap (2–5mm) between the screen and the substrate—this gap, called the “off-contact,” allows the screen to spring back after the squeegee passes, preventing smudging and ensuring clean ink transfer.
Step 3: Ink Application
A line of ink is poured along the top edge of the screen, above the stencil. The squeegee is positioned at the top of the screen, and pressure is applied as it’s pulled (or pushed) across the mesh. As the squeegee moves, it forces the ink through the open stencil areas onto the substrate. The screen’s tension causes it to lift away from the substrate immediately after the squeegee passes, ensuring the ink doesn’t smudge as the screen moves.
Step 4: Drying/Curing
After printing, the ink must be dried or cured to ensure it adheres to the substrate. This depends on the ink type: water-based inks air-dry or use heat, solvent-based inks air-dry, and UV-curable inks are cured instantly with UV light. Curing is critical for durability—properly cured prints resist fading, scratching, and washing, making them ideal for long-lasting applications like clothing, signage, and industrial parts.
Step 5: Multi-Color Printing (If Needed)
For multi-color designs, the process is repeated with a separate screen for each color. Each screen is aligned using the registration system to ensure the colors overlap perfectly. Between each color, the ink is cured (especially for UV inks) to prevent bleeding between layers. This step requires precision, but the result is vibrant, layered designs that stand out.
Manual vs. Automatic Screen Printers: How They Differ
While the core working principle is the same, manual and automatic screen printers differ in speed, consistency, and ease of use—making them suitable for different applications:
Manual Screen Printers
Manual printers rely on human operation: the user places the substrate, adjusts the screen, and pulls the squeegee. They’re affordable, compact, and ideal for small batches, custom prints, or hobbyists. However, they’re slower (10–50 prints per hour) and require skill to maintain consistency—especially for multi-color designs.
Automatic Screen Printers
Automatic printers use motors, sensors, and computerized controls to handle every step: substrate feeding, screen alignment, squeegee movement, and curing. They’re faster (hundreds to thousands of prints per hour), more consistent, and ideal for large-scale production (e.g., clothing, packaging, electronics). Advanced models include carousel presses (for textiles) and inline flatbed presses (for rigid substrates like glass or metal).
Why Screen Printing Remains a Top Choice
In an era of digital printing, screen printing continues to thrive because of its unique advantages:
-
Versatility: Prints on almost any surface—flat, curved, rigid, or flexible (e.g., t-shirts, bottles, signs, circuit boards).
-
Vibrancy & Texture: Thicker ink layers deliver bold, vivid colors and a tactile finish that digital printing can’t match. Ink coverage is exceptional, even on dark substrates.
-
Durability: Cured screen-printed ink is resistant to fading, scratching, washing, and harsh environments—perfect for outdoor signage, industrial parts, and clothing.
-
Cost-Effectiveness: For large batches, screen printing is more affordable than digital printing, as setup costs are spread across more prints. It’s also ideal for custom designs and variable data with hybrid digital-screen printing technology.
Final Thoughts
Screen printing’s working principle is elegant in its simplicity: using a stencil and squeegee to transfer ink onto a substrate. Yet, its versatility and durability make it an indispensable technology across industries—from small businesses creating custom t-shirts to large manufacturers printing circuit boards and packaging. Whether you’re a beginner learning the basics or a professional looking to optimize your process, understanding how a screen printer works is key to achieving high-quality, consistent results.
As technology evolves, screen printing continues to adapt—with hybrid digital-screen printers, UV curing, and automated systems making the process faster and more accessible than ever. No matter the application, the core principle remains the same: turning a simple stencil into a vibrant, long-lasting print.