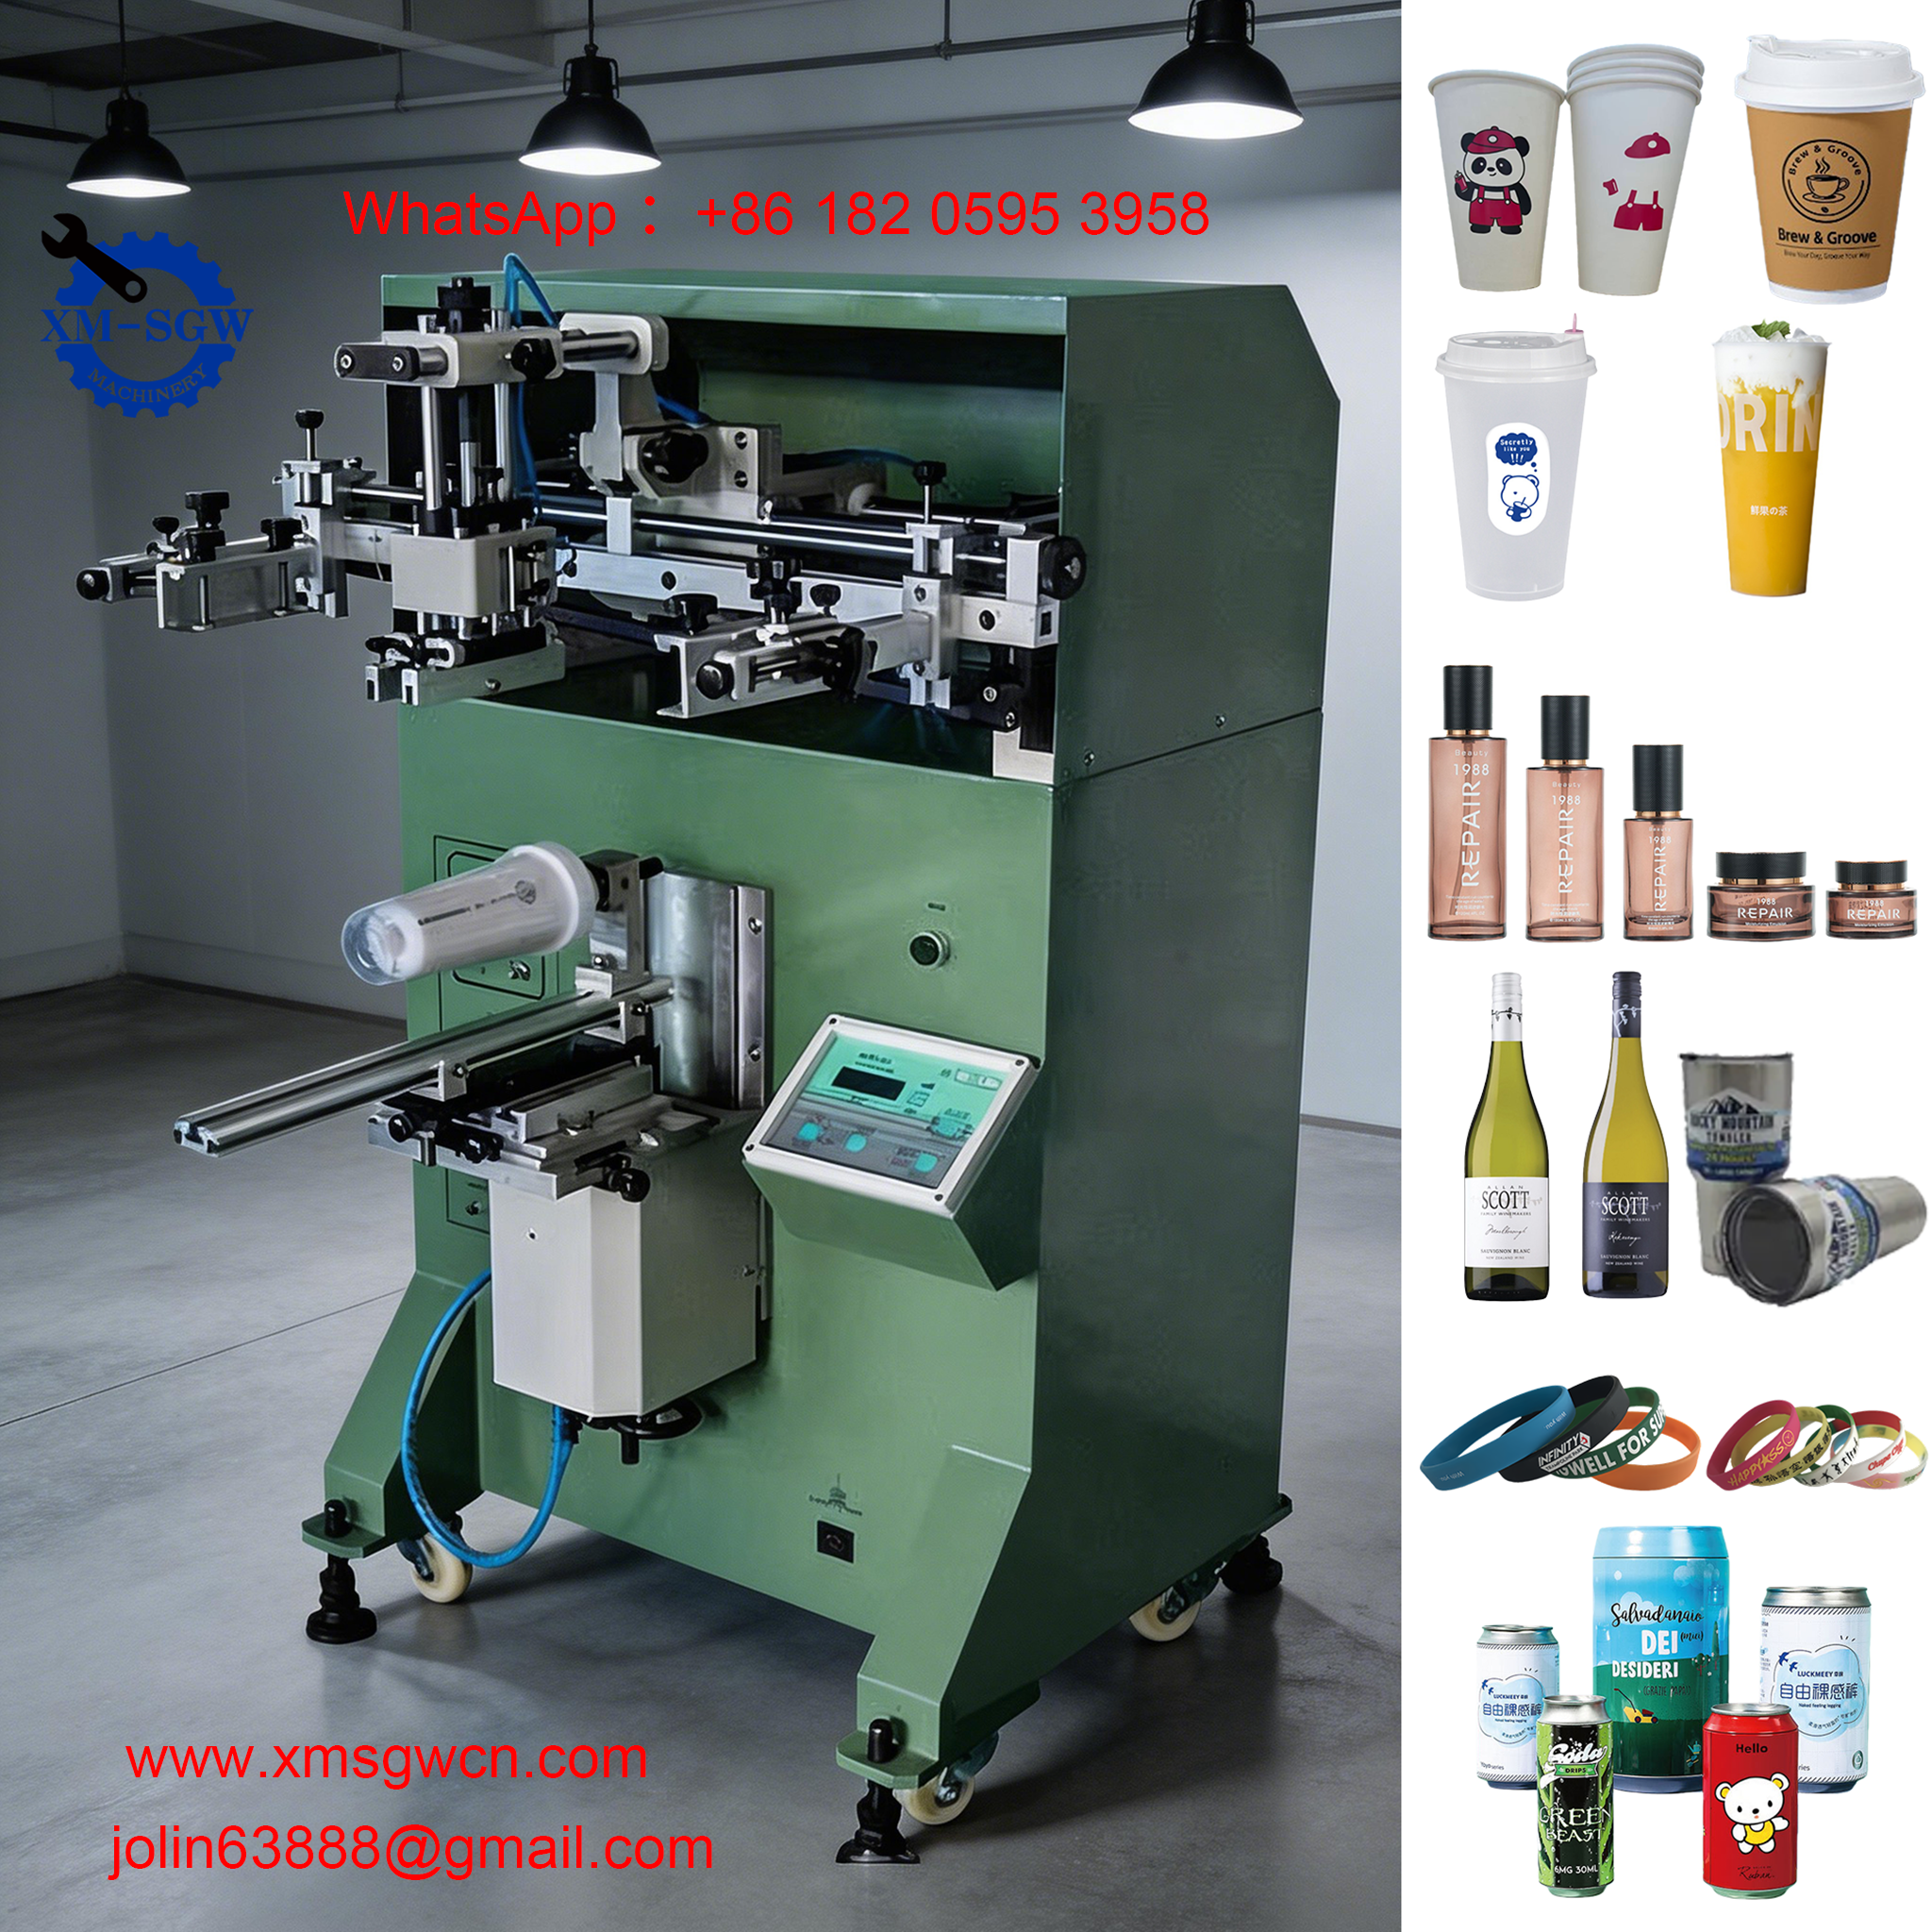
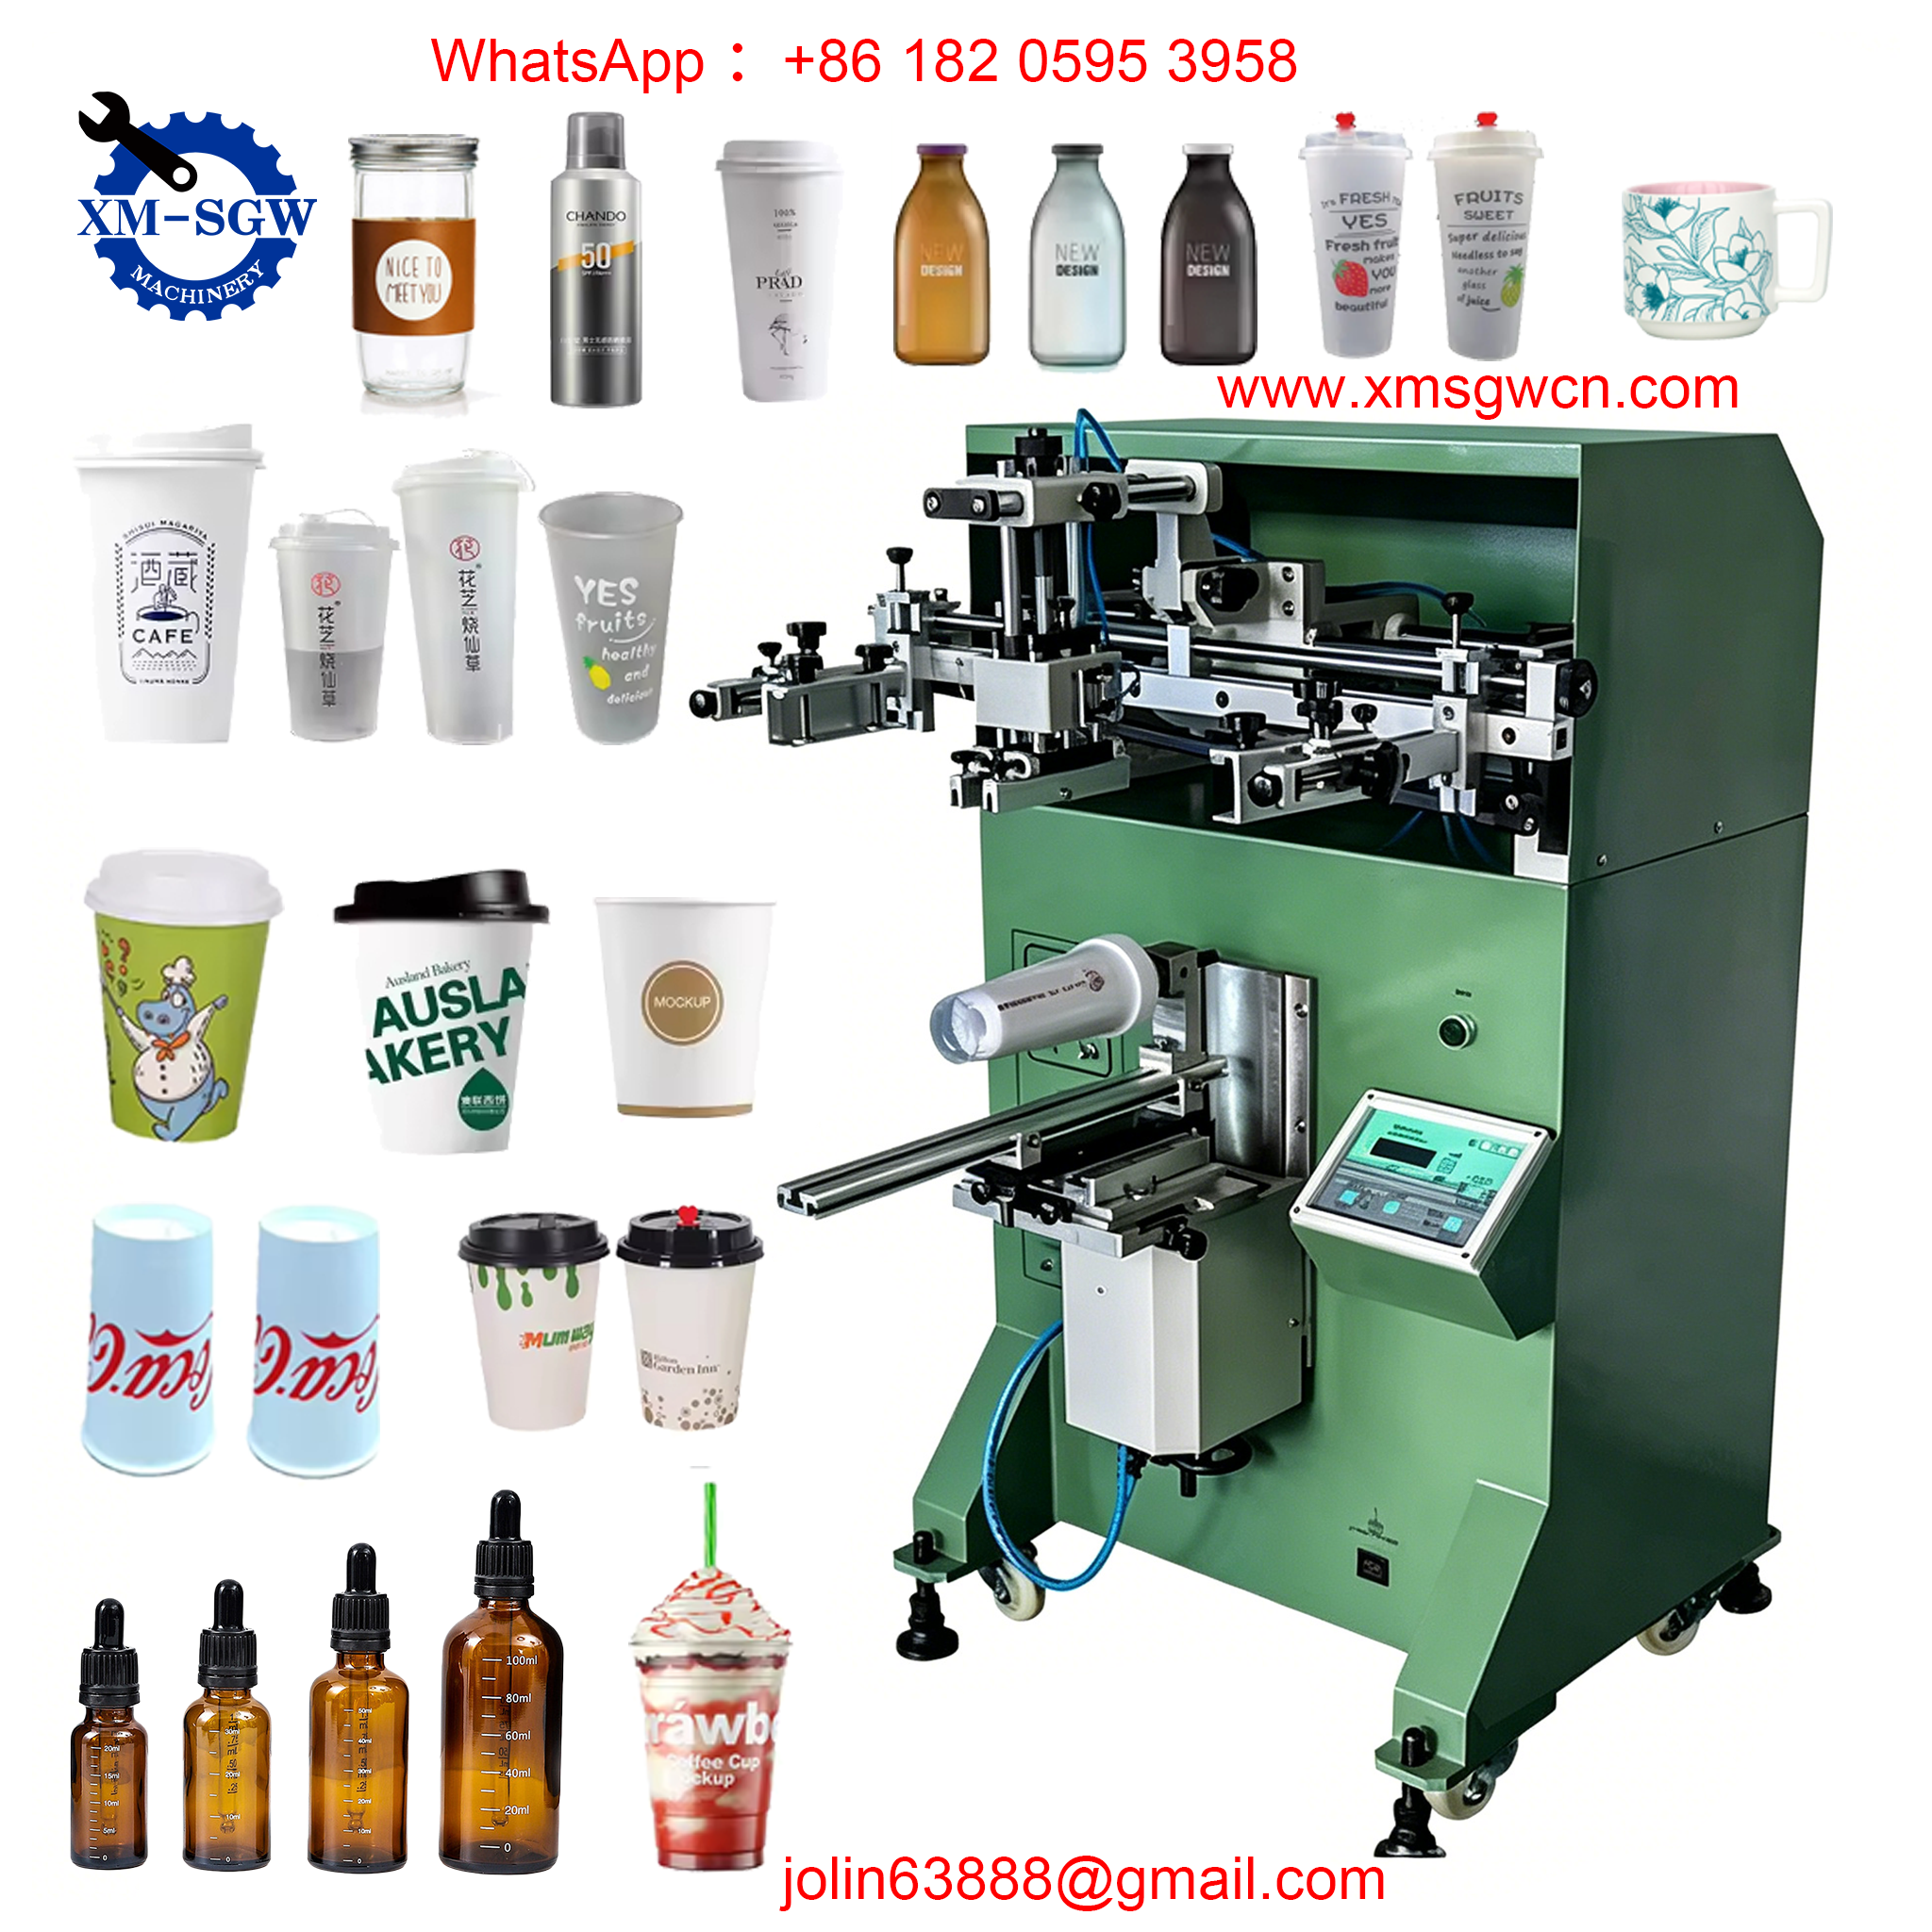
In the world of customized plastic cup production, screen printing machines stand out as the most reliable and efficient solution for large-scale, vibrant printing. As we mentioned earlier, these machines are favored by food and beverage factories, catering chains, and packaging companies for their ability to produce sharp, durable prints on cylindrical plastic cups—from 4oz bubble tea cups to 26oz coffee cups. But have you ever wondered how a screen printing machine works? Understanding its core principle not only helps you operate the machine more efficiently but also enables you to make informed decisions when choosing the right equipment for your business. Let’s break down the science behind screen printing machines, focusing on how they adapt to plastic cup printing and deliver consistent, high-quality results.
At its core, screen printing is a form of stencil printing, belonging to the family of porous printing methods alongside inkjet printing. The principle is simple yet ingenious: it uses a mesh screen (stencil) to transfer ink onto the surface of a plastic cup, with the screen acting as a barrier that only allows ink to pass through designated areas (your design). Unlike digital printing, which uses inkjet technology, screen printing relies on mechanical pressure and precise alignment to ensure ink adheres evenly to curved plastic surfaces—making it perfect for 360-degree full-circle printing on cylindrical cups. Let’s dive into the detailed working principle, key components, and step-by-step process of a plastic cup screen printing machine.
Core Principle of Screen Printing Machines: Stencil-Based Ink Transfer
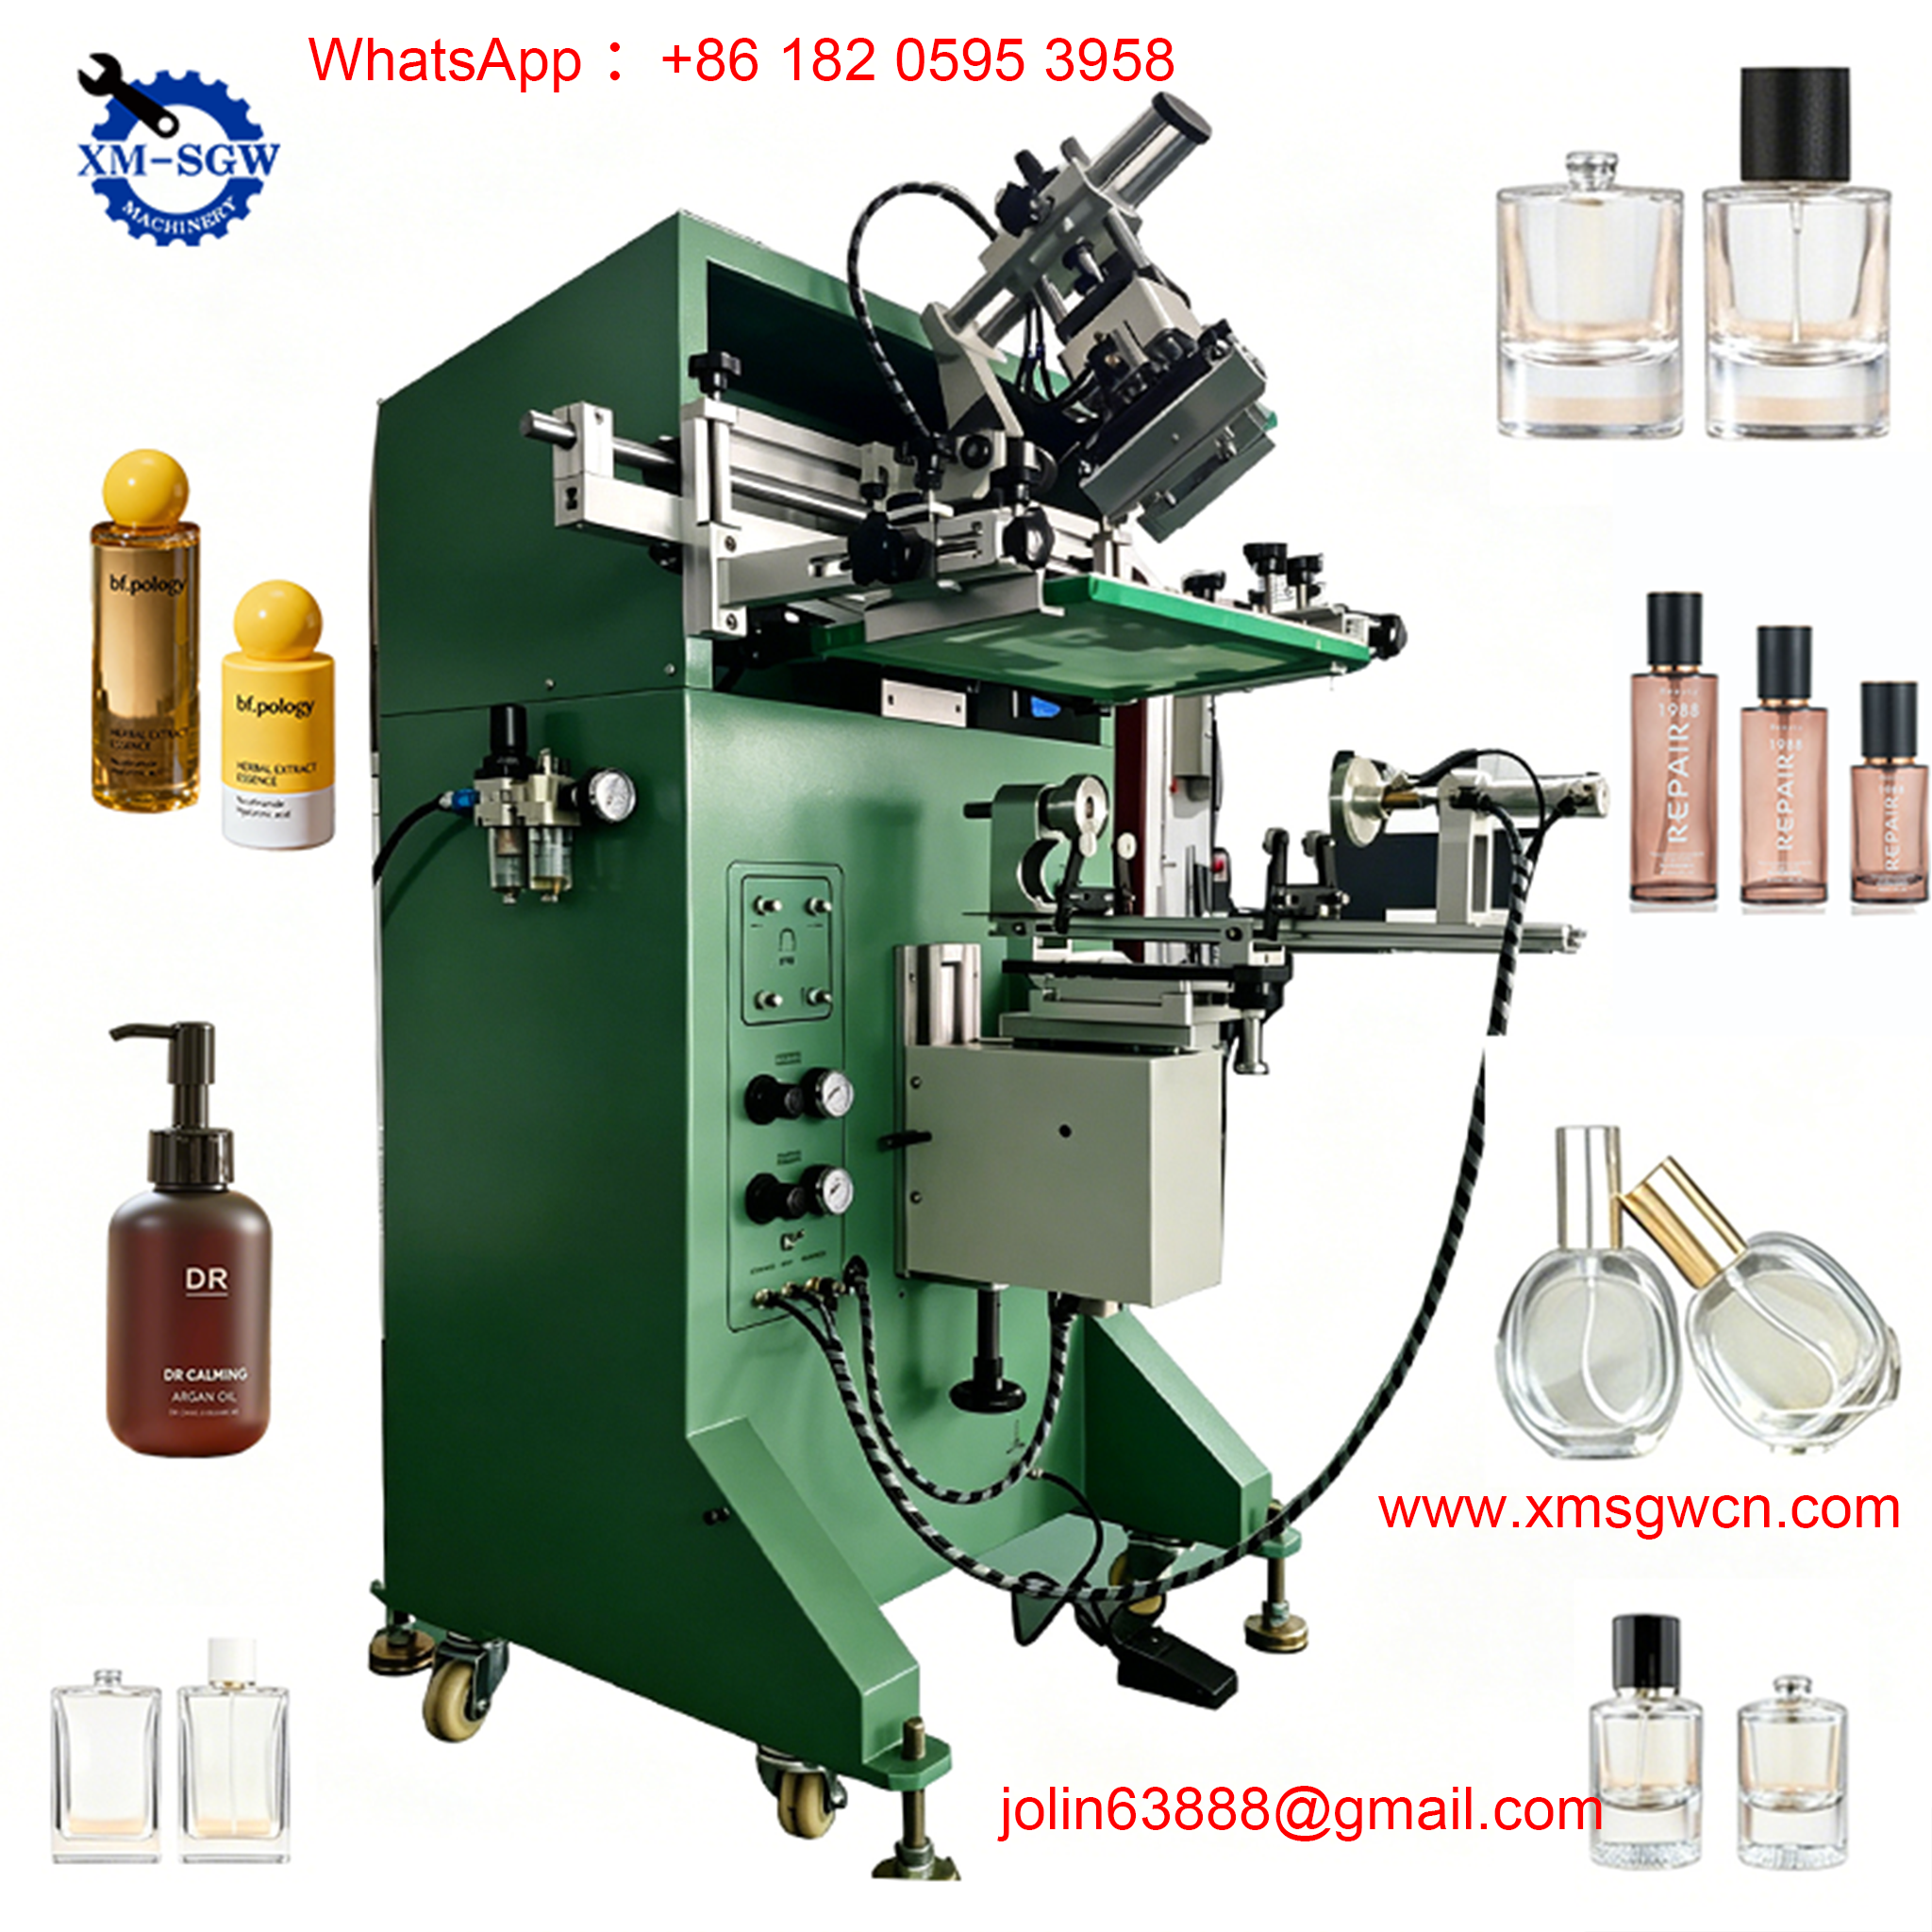
The fundamental principle of any screen printing machine revolves around four key elements: the screen (stencil), ink, squeegee (scraper), and the plastic cup (substrate). The machine leverages the contrast between permeable and impermeable areas on the screen to transfer the desired design onto the cup surface. Here’s a simplified breakdown of the core logic:
1. The screen (made of polyester, nylon, or stainless steel mesh) is coated with a photosensitive emulsion (photoresist) that hardens when exposed to light. A digital design is projected onto the emulsion; the areas of the emulsion exposed to light harden, while the unexposed areas (matching your design) remain soft and can be washed away. This creates a stencil: the hardened emulsion blocks ink, while the unexposed (washed-out) areas form tiny holes that allow ink to pass through.
2. The plastic cup is securely positioned on a rotating mandrel (a cylindrical tool that holds the cup in place). For 360-degree printing, the mandrel rotates at a steady speed, ensuring the entire circumference of the cup is covered evenly.
3. Ink is applied to the top of the screen. A squeegee (a rubber blade) moves across the screen, applying uniform pressure to push the ink through the stencil’s holes and onto the rotating plastic cup surface.
4. After printing, the cup moves to a UV drying system, where ultraviolet light cures the ink—locking it onto the plastic surface for long-lasting durability. This step is critical for plastic cups, as it ensures the print resists smudging, scratching, and fading, even when in contact with liquids or heat.
Key Components & Their Roles in the Principle
To fully understand the screen printing machine principle, it’s essential to know how each component works together to deliver precise, consistent prints. Every part is designed to optimize the ink transfer process, especially for curved plastic cup surfaces:
1. Screen (Stencil): The Heart of the Printing Process
The screen is the foundation of the stencil system, consisting of a mesh stretched tightly over a frame (usually aluminum). The mesh’s density (measured in meshes per inch, or MPI) determines the detail and thickness of the print—for plastic cups, a mesh density of 140–165 MPI is ideal, as it balances ink coverage and UV light penetration for thorough curing. The photosensitive emulsion coating is key: it creates the stencil by blocking ink in non-design areas, ensuring only your logo, text, or pattern is transferred. High-quality screens are reusable, making them cost-effective for large-scale production.
2. Squeegee: Controlling Ink Transfer Pressure
The squeegee is a rubber blade that applies pressure to the screen, forcing ink through the stencil holes. Its hardness (75–85 degrees) and angle (optimally 45–60 degrees) directly impact print quality: a harder squeegee delivers sharper details, while a softer one ensures even ink coverage on curved surfaces. In plastic cup screen printing machines, the squeegee is mounted on a movable arm that adjusts to the cup’s curvature, maintaining consistent pressure as the mandrel rotates—preventing ink smudges or uneven lines.
3. Rotating Mandrel: Ensuring 360-Degree Alignment
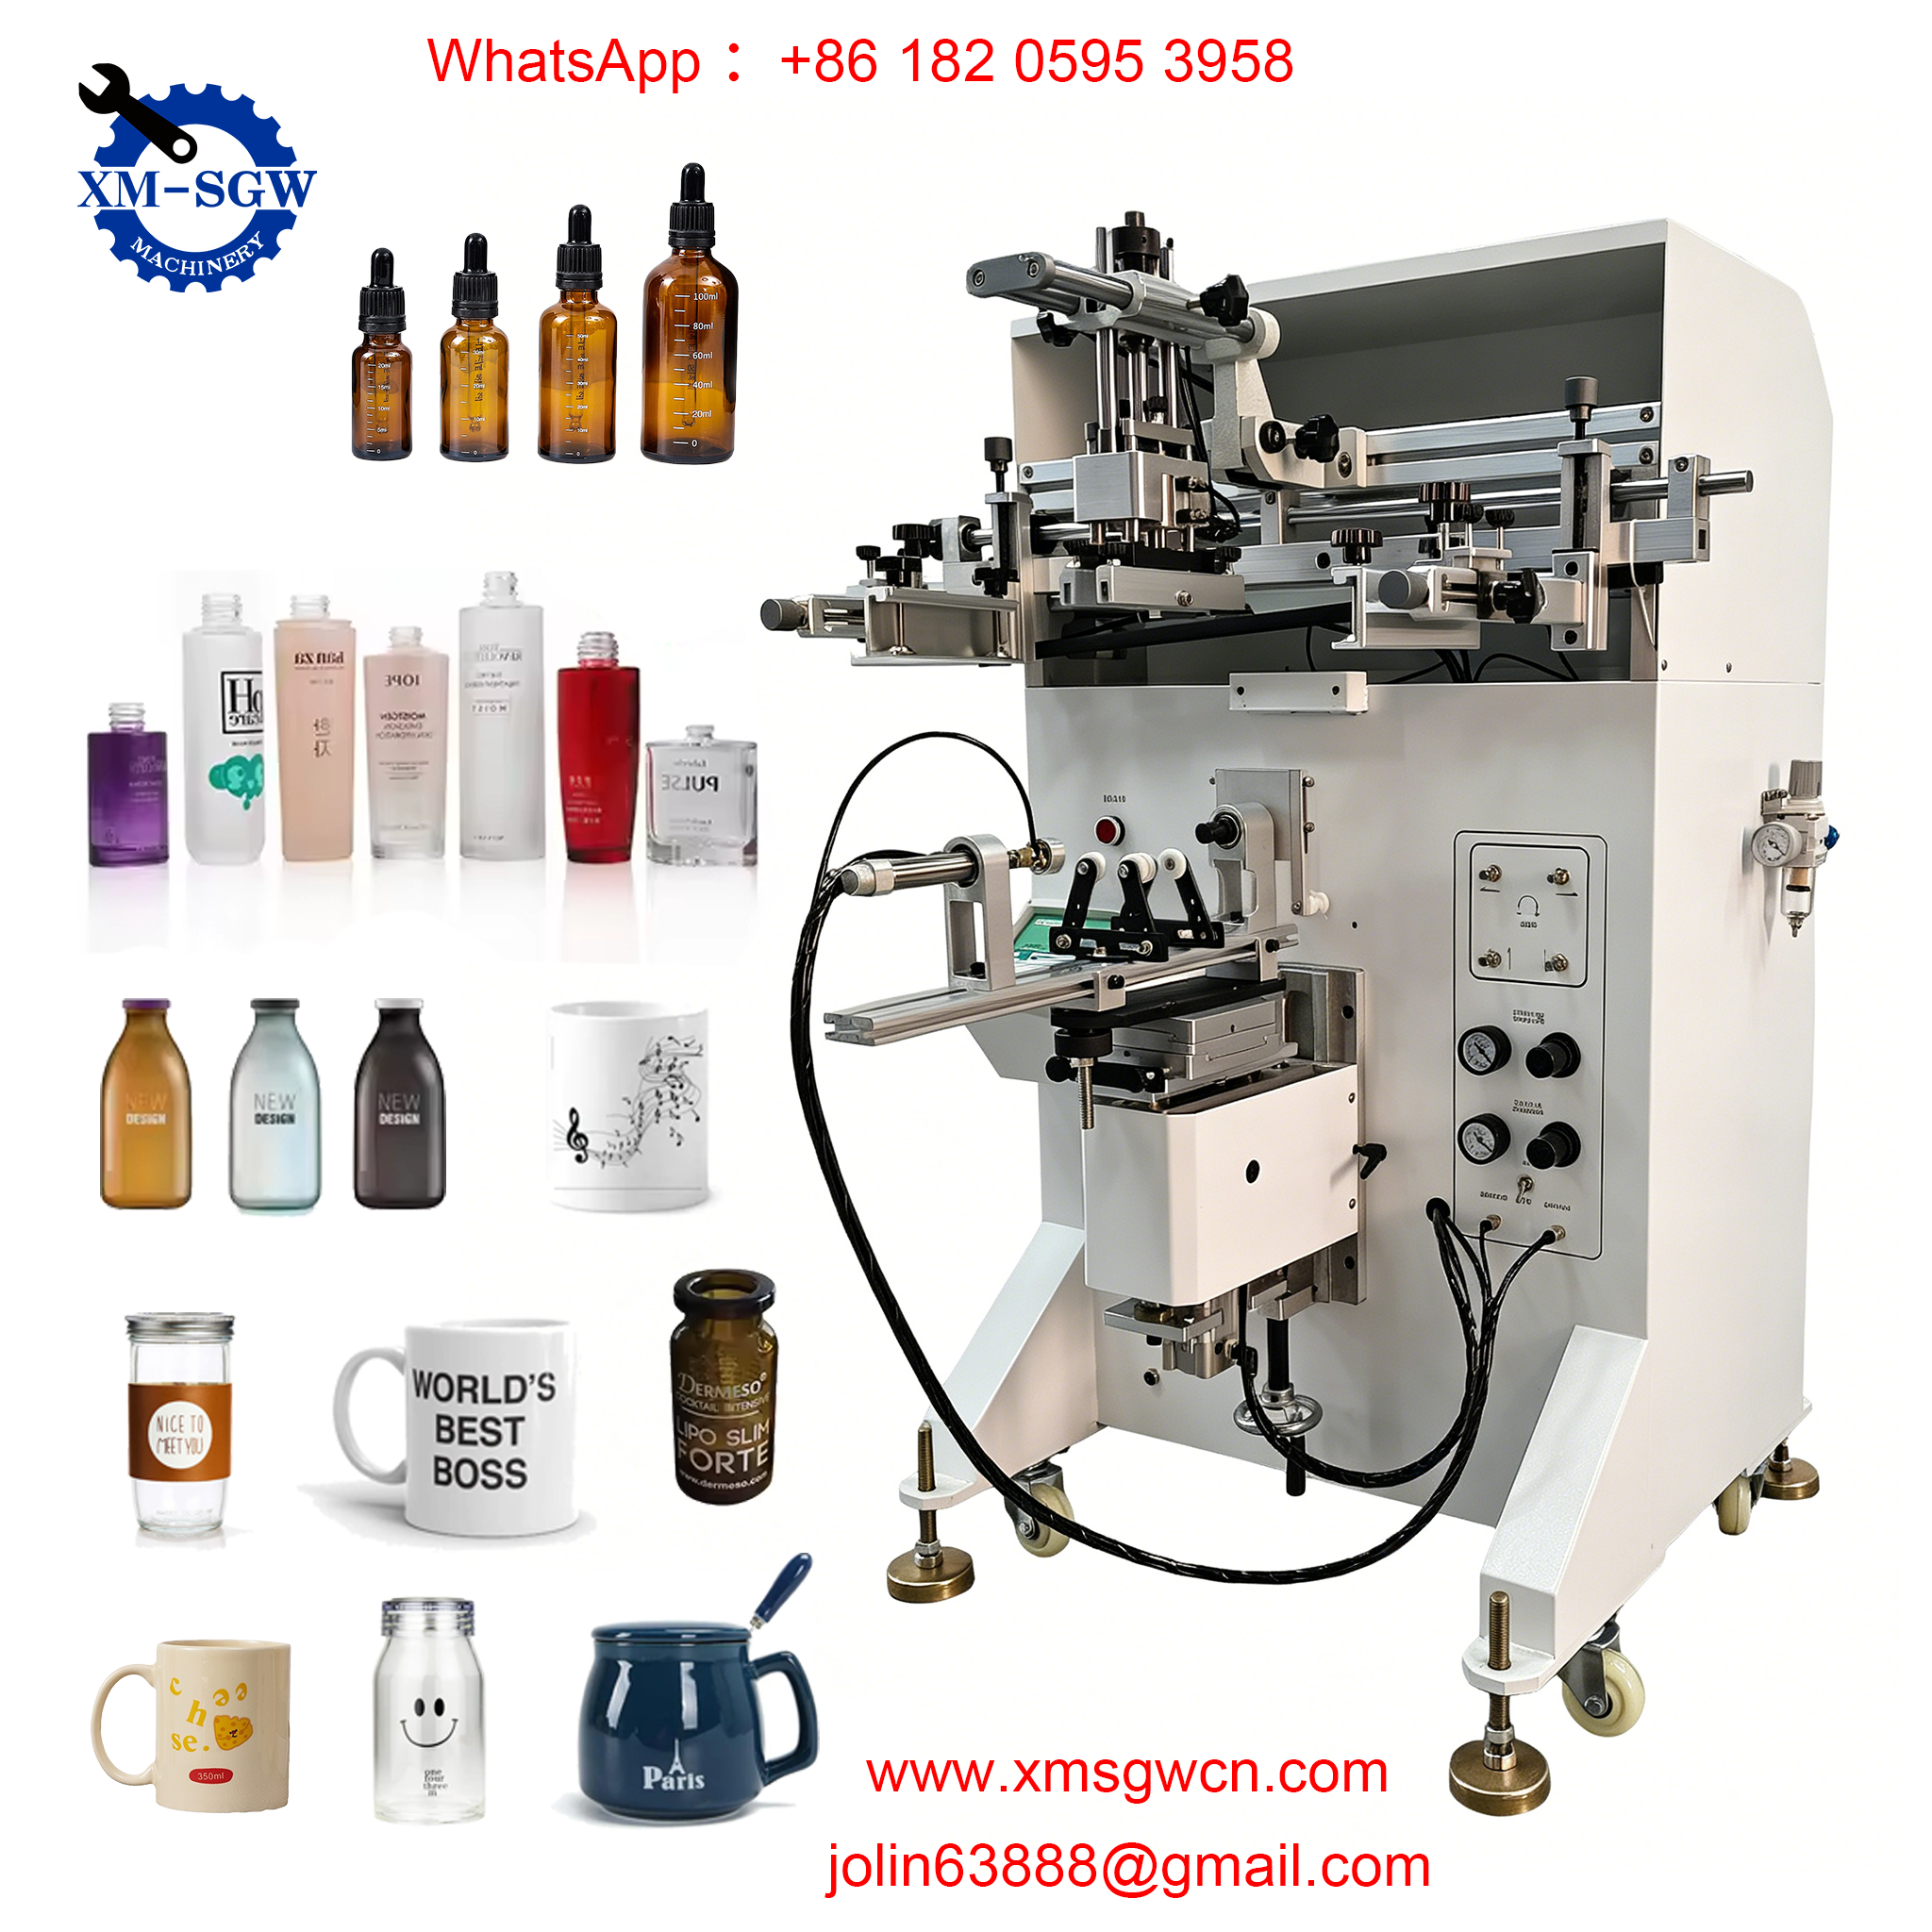
Unlike flat screen printing (used for paper or flat surfaces), plastic cup screen printing requires a rotating mandrel to hold the cup and ensure full-circle printing. The mandrel is designed to match the cup’s size (diameter 50mm–180mm, height 30mm–220mm) and is coated with a non-slip material to prevent the cup from slipping during rotation. Advanced machines use servo motors to control the mandrel’s speed, synchronizing it with the squeegee’s movement for precise alignment—critical for multi-color printing, where each color must line up perfectly.
4. Ink System: Adhesion & Vibrancy for Plastic
The ink used in plastic cup screen printing is specially formulated to adhere to plastic materials (PP, PET, foam, PLA) and resist fading. UV-curable inks are the most common, as they dry quickly under UV light and form a durable bond with the plastic surface. The ink system also includes an automatic stirring mechanism to prevent pigment separation, ensuring consistent color throughout production. For plastic cups, pre-print flame treatment is often integrated into the machine—this process increases the plastic’s surface tension (to at least 50 dyn/cm), improving ink adhesion and preventing peeling.
5. UV Drying System: Locking in the Print
After ink transfer, the printed cup moves to a UV drying tunnel. UV light (280–320nm wavelength) triggers a chemical reaction in the ink, curing it in seconds—much faster than air-drying. This step is essential for plastic cups, as it ensures the print is smudge-proof and durable, even in harsh conditions (e.g., cold drinks, hot coffee, or transportation). The drying system’s speed is synchronized with the machine’s production rate, allowing for continuous, high-speed printing (up to 5,000 cups per hour).
Step-by-Step Working Process of a Plastic Cup Screen Printing Machine
Now that we’ve covered the core components and principle, let’s walk through the full working process—from setup to finished product—so you can see how everything comes together:
-
Stencil Preparation (Pre-Print Setup): First, the screen is coated with photosensitive emulsion and dried. A digital design is printed onto a transparency film, which is placed over the emulsion-coated screen. The screen is exposed to UV light, hardening the emulsion in non-design areas. The unexposed emulsion is washed away, leaving a stencil with holes matching the design. This step takes 1–2 hours for new designs but is reusable for future orders.
-
Cup Loading & Pre-Treatment: Plastic cups are loaded into the machine’s automatic feeder, which feeds them one by one onto the rotating mandrel. The cups undergo flame treatment to increase surface tension, ensuring ink adhesion. A surface tension test pen (3.8×10⁻² N/m) is used to verify treatment effectiveness—if the liquid trace spreads evenly, the cup is ready for printing.
-
Alignment & Printing: The mandrel rotates to position the cup under the screen. The squeegee moves across the screen, applying pressure to push ink through the stencil’s holes onto the cup’s surface. As the mandrel rotates 360 degrees, the entire circumference of the cup is printed evenly. For multi-color printing, the cup moves to additional stations (one for each color), with each screen aligned precisely to ensure color registration.
-
UV Curing: The printed cup moves through the UV drying tunnel, where UV light cures the ink in 1–3 seconds. The curing speed is adjusted based on ink thickness and color—darker colors (black, white) require longer curing times to ensure full adhesion.
-
Unloading & Quality Control: The cured cup is automatically unloaded from the mandrel and sent to a quality control station. Cups with smudges, uneven ink, or misalignment are removed, while high-quality printed cups are ready for packaging or distribution. Advanced machines include automatic error detection to minimize waste.
Why This Principle Makes Screen Printing Ideal for Plastic Cups
The screen printing principle is uniquely suited for plastic cup production, addressing the key challenges of printing on curved, non-porous surfaces. Here’s why it’s the top choice for businesses:
-
Vibrant, Durable Prints: The thick ink layer (enabled by the screen’s mesh) delivers bold, saturated colors that stand out—even on dark plastic cups. UV curing ensures the print resists scratching, fading, and water, making it perfect for disposable cups that are handled frequently.
-
High-Speed Production: The automated, continuous process (from loading to curing) allows for speeds of up to 5,000 cups per hour—ideal for large-scale orders from catering chains or packaging companies.
-
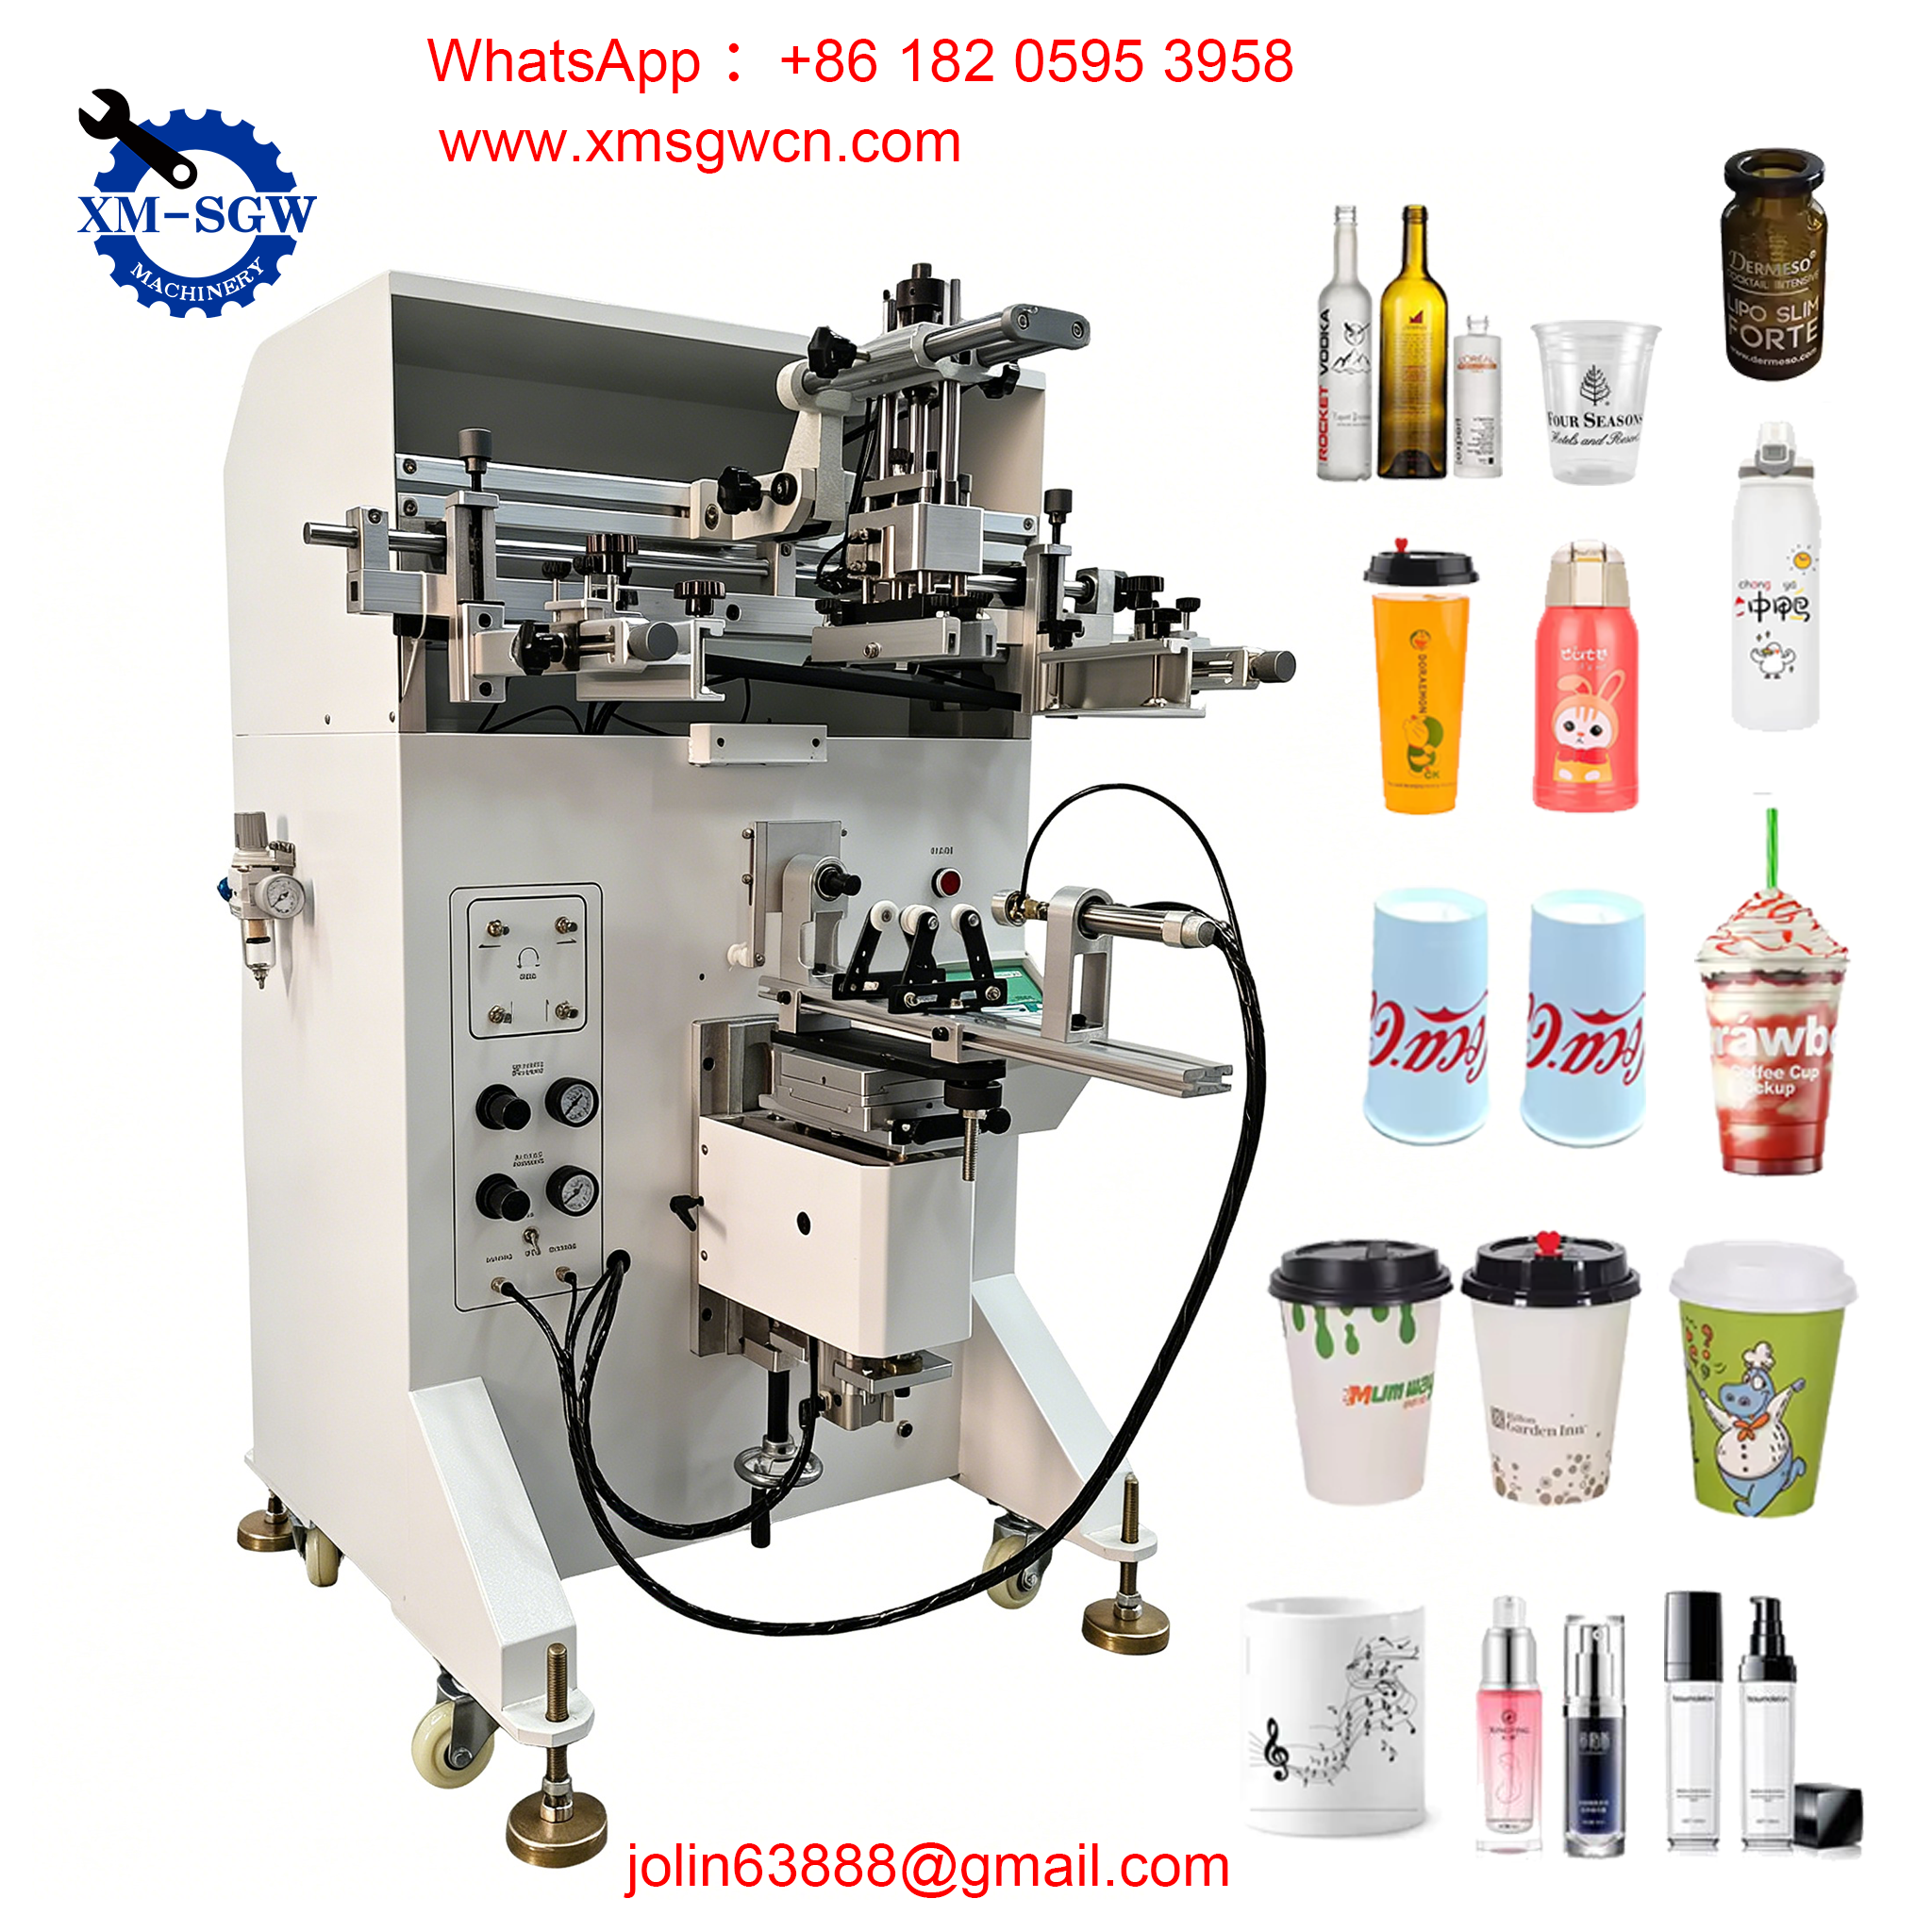
Versatility: The principle works with all common plastic materials (PP, PET, foam, PLA) and cup sizes, and can handle single-color to 10-color printing. Quick screen changes and mandrel adjustments make it easy to switch between designs or cup sizes.
-
Cost-Effectiveness: Reusable screens and high ink efficiency reduce per-unit costs, especially for large orders. The automated process also minimizes manual labor, lowering operational expenses.
FAQs About Screen Printing Machine Principle
We understand you may have questions about how the principle translates to real-world operation. Here are the most common queries answered:
Q1: Why do screen printing machines require stencil preparation?
Stencils are essential for precise ink transfer—they ensure only the desired design is printed, preventing ink from bleeding or smudging. While stencil preparation takes 1–2 hours for new designs, reusable screens mean you only need to create a stencil once per design, making it cost-effective for repeat orders.
Q2: How does the machine ensure 360-degree printing without gaps?
The rotating mandrel is synchronized with the squeegee’s movement: as the mandrel rotates at a steady speed, the squeegee applies consistent pressure across the screen, ensuring ink covers the entire circumference of the cup. Advanced servo motors control the mandrel’s speed and alignment, eliminating gaps or overlaps.
Q3: Why is UV curing necessary for plastic cup printing?
Plastic is a non-porous material, so ink cannot absorb into it—UV curing creates a chemical bond between the ink and plastic surface, locking it in place. This prevents the ink from smudging, peeling, or fading, even when the cup is filled with hot or cold liquids. Air-drying would take hours and result in a less durable print.
Q4: Can the machine handle irregularly shaped cups (e.g., conical cups)?
Yes! Advanced screen printing machines use adjustable mandrels and flexible squeegees to adapt to irregular or conical cup surfaces. The principle remains the same—ink is transferred through the stencil—but the mandrel’s shape and rotation speed are adjusted to ensure even ink coverage on curved or tapered surfaces.
Choose Our Screen Printing Machines for Reliable, High-Quality Results
Understanding the screen printing machine principle helps you appreciate why it’s the gold standard for plastic cup production. Our screen printing machines are engineered to optimize this principle—with high-precision screens, adjustable squeegees, synchronized mandrels, and efficient UV drying systems—delivering consistent, vibrant prints that elevate your brand.
Whether you’re a food and beverage factory needing 5,000 cups per hour or a catering chain looking to print custom logos, our machines are designed to meet your needs. We offer fully automated models with PLC touchscreen interfaces, easy operation, and comprehensive after-sales support—including on-site training, 24/7 technical assistance, and a 1-year warranty.
Don’t settle for subpar prints that damage your brand. Contact us today to learn more about our screen printing machines, see a live demo of the printing process, and get a customized quote. We ship globally, with fast delivery and secure packaging, so you can start producing high-quality printed plastic cups in no time.
Your brand deserves sharp, durable prints—let our screen printing machines make it happen.